yobit eobot.com

Announcement

Collapse
No announcement yet.

1994 4Runner V6 3.0 aka The Beast..

Collapse
X
 
  • Filter
  • Time
  • Show
Clear All
new posts

  • 1994 4Runner V6 3.0 aka The Beast..

    I wasn’t really looking for one, but found myself buying the 4 Runner on a bit of a whim, realising that the V6 Petrol / Manual Gearbox combo was a rare one in my years of browsing. Living in Brighton at the time, parking it on the Street with a Permit mitigated for the lack of Garage Space, so I really couldn’t think of a reason not to buy it.


    The Service History was present, if not comprehensive, and a Folder of Tax Discs, Invoices and Receipts ticked that Box. There had been some Rust Work attended to around the Wheel Arches, bodywork metal held in a notorious moisture trap beneath those Wheel Arch Flares.


    The Seller was the owner of a Garage that had, having serviced it for years, bought it from a Professional Cricketer, and when it arrived on the Flatbed from Halifax, I remember feeling like I had won the Lottery; finally, I owned a Toyota 4X4. The Seller's parting words were “If you ever sell it, let me know first”.


    As I sat in the 4Runner, I took in the absolute joy I felt, and the fusty 1994 aroma I smelt; this thing needed a clean.

    It actually spruced up pretty good, despite the 30 year old carpet, vinyl and upholstery material. Some fading, some UV bleaching and a touch of ingrained dirt notwithstanding it was quite a comfortable cabin to be in. The Stereo was broken, and tuned in to within a stones throw of clarity to Radio 4, but I wasn’t interested in the In Car Entertainment. As I fired up the V6, I took a moment for it to warm, and then popped the Bonnet for a look..

    It wasn’t the cleanest Engine bay I had seen, but the simplicity and the raw mechanical nature of it was widening my smile. The 3.0L V6 reputation was one of unimprovability; it is what it is.

    So with that in mind, I turned the Engine off and climbed out [and down] of the Driver Seat. I looked back as I walked away thinking that I just wanted to leave it as it is, it was perfect, but knowing that really, I wanted to make it immaculate and rust free; I just can’t help myself..

    I didn't do much to it for the few couple years of ownership, the odd cosmetic job, removed the Spots, new Wheels and Tyres and took the Fender Flares off to see how bad the damage was underneath..


    When the COVID Lockdown happened, I put it in Storage at a mate's Garage in Brighton; I had since moved back to London and didn't have the space to keep a second Motor.. A few months after the Lockdowns were lifted, I collected and decided to restore in earnest..

    Last edited by kingroon; 2 October 2024, 12:17. Reason: New Photos and New Text :)

  • #2
    One of the most satisfying Jobs I took on was the repair of the Rear Window.. Google informed me that apparently no one had ever attempted this before, or at least done so and posited their experience on the Internet, so I was flying blind. I set about removing the old system.


    Window down, removing the Tailgate coverings is straight forward. Clips on the Carpeted cover, Screws on the Metal Plate and a few more Screws on the Tailgate door top.
    1. Unclip all the Electrical Connectors from the Tailgate Loom, and also the Lock and Door Handle rods from the Regulator Mechanism.


    2. Remove the Motor using an 8mm spanner, preferably a ratcheted one, since it is on the underside of the mechanism as you look down on it. There are three Self Tapping Bolts.

    3. Next slide the Glass by hand half up/out of the Tailgate so you can see the Arms in the Runners. You need to then undo the four bolts holding the Mechanism in place and slide the Arms/Rollers out of the Runners. In fairness, I was able to bypass this bit as the Runners came off the bottom of the Glass very easily as they were rusted and the rubbers perished.

    4. Undo the four 10mm Bolts securing the Mechanism and place it to the side.
    5. Remove the Glass completely and place on some Pillows/Foam out side down i.e. like a saucer.


    I then cleaned the inside of the Tailgate as best I could, hoovering then degreasing and wiping clean. Don’t get over zealous with the Soap and Water here as there are Electrics in here you do not want to fritz e.g. Registration Plate Lights, Fog Light.


    You can see the difference between new and old Mechanism above, and the Motor was totally shot. This was a Job that had needed doing.

    I cleaned the Glass with Windowlene Cream Cleaner mixed with White Wine Vinegar, applied with a Cotton Cloth.


    Once everything was clean, reassembly:
    1. Swap over the Electrical Parts to the new Regulator.
    2. Thread the Self Tapping Bolts into the new Motor. Be careful here as the thread that needs to be tapped is in an aluminium sleeve. This will be a heat exothermic process so go slow and steady; you do not want to snap these Bolts.
    3. Get someone to help you with this next bit, as they will need to hold either the Regulator in position, or bolt the Motor in.

      Wind the Sprung Armature around clockwise so that the crescent’s teeth engage with the Motorised Armature teeth. There are two markings “| |” on each of the Arms’ crescents that need to align so that they raise and lower the Glass not only unison but also at the same level; there is an inspection hole in the Regulator to eyeball alignment. If you do not align these markings you risk misalignment and the Glass will raise unevenly and you will need to redo this list from item 2 onwards; ask me how I know.
    4. Bolt the Motor in place on the underside of the Regulator. Once done, the Motor holds the tensioned Armatures in place.
    5. Connect up all the Electrics to the Regulator and with a Screwdriver push the latches either side of the Tailgate to simulate it being closed into the Body; this fools the Sensors into thinking the Tailgate is closed. Get your helper to hold the Regulator by its retaining bracket and operate the Switch in the Centre Console so that the Regulator arms are parallel i.e. pointing directly away from each other.
    6. Use a Silicone Lubricant on the Rubbers and Runners. With the Glass on its top edge [held by the someone helping you in #3] and resting on the Pillows/Foam, place the lubed Rubbers on the Glass first, then the lubed Runners tapped home with a Wooden Mallet. Do not use Washing Up Liquid; again, ask me how I know.
    7. Manoeuvre the Regulator into its place in the Tailgate, do not bolt down yet.
    8. Lubricate the Tailgate Runners with the same Silicone Lubricant used earlier. Slide the Glass back into the Tailgate and into its Runners [you might need to wiggle the Tailgate door top out of the way for this to accommodate the attached Runners].
    9. Now, manually positioning the Glass half way up/out of the Tailgate you can again manoeuvre the Regulator so that the the Wheels at the ends of the Armatures engage with the Runners on the Glass. This takes a bit of Patience and Wiggling, but it works. Once done, position the Regulator correctly and bolt down. Whilst in this position, spray the Wheels and Runners with the Silicone Lubricant.
    10. Use the Switch in the Cabin to lower/close the Glass in the Tailgate. Release the Latches by pulling on the Cables. Attach the Cables to the rocker mechanism. Connect the Lock to its mechanism. Close the Tailgate and test the opening and closing of the Window, smiling as you do so.
    It’s a good idea to test all this a few times, but not excessively of course. Once you are satisfied, put all the covers and carpet back etc.

    Last edited by kingroon; 3 October 2024, 14:43.

    Comment


    • #3
      Going to get some Thinners to that Black Paint on the sides..

      Comment


      • #4
        With the Decals removed, I decided with abandon to remove both the Collision Protective Rubber Strips and Raptor style Paint from as much of the Bodywork as possible; the latter despite the fact that the Body was to be Sand Blasted during the Restoration; I just like doing stuff.


        Click image for larger version

Name:	IMG_4950.JPEG
Views:	896
Size:	1.13 MB
ID:	1297188Click image for larger version

Name:	IMG_4956.JPEG
Views:	695
Size:	1.09 MB
ID:	1297187Click image for larger version

Name:	IMG_4957.JPEG
Views:	696
Size:	960.2 KB
ID:	1297185

        Used the most Environmentally Friendly product, which meant more Elbow Grease..

        Also set about removing the Bumper Flares, since the Wheel Arch Flares had already gone.. Need to Angle Grind those fixings off..

        Click image for larger version

Name:	IMG_5926.JPEG
Views:	697
Size:	1,015.7 KB
ID:	1297184Click image for larger version

Name:	IMG_5927.JPEG
Views:	681
Size:	1.16 MB
ID:	1297179

        Removed the Spots too, they were shockingly wired up..

        Click image for larger version

Name:	IMG_5919.JPEG
Views:	553
Size:	1.07 MB
ID:	1297186

        The combined result was quite pleasing..

        Click image for larger version

Name:	IMG_6197.JPEG
Views:	562
Size:	1.32 MB
ID:	1297180
        Attached Files

        Comment


        • #5
          Really interesting to see from the point of view of someone who wants to do a job on his truck. Spotted the roof rack rails - are they a Toyota option, or aftermarket? How do you plan on getting past the MOT with the rule about wheel protrusion from the arch?

          Comment


          • #6
            Originally posted by Tonka View Post
            Really interesting to see from the point of view of someone who wants to do a job on his truck.
            Oh yes, I am All In on this one.. So much so in fact that during March of this year, it was transported to Somerset to have a full Body Off Restoration; I shall post some photos below..

            Originally posted by Tonka View Post
            Spotted the roof rack rails - are they a Toyota option, or aftermarket?
            Funny you mention these, as I have not seen another set like it on a Surf / 4Runner.. I always thought they were OEM, so have no idea of they are not. They have a slightly triangular profile, which will make sourcing cross bar difficult I always thought.. I need to strap Surfboards to the Roof at some point, so will let you know how I get on..

            Originally posted by Tonka View Post
            How do you plan on getting past the MOT with the rule about wheel protrusion from the arch?
            Wheel Protrusion is the least of MOT Worries when it comes to the 4Runner.. Emissions were a constant worry..

            Comment


            • #7
              So, about that Body Off Restoration..

              Click image for larger version

Name:	52961579522_dc3183c2e4_c_d.jpg
Views:	480
Size:	165.6 KB
ID:	1297522


              Once the Chassis and Body were separated, I made the decision to do a Chassis Replacement since the condition of the one I had was in need of a lot of repair.. So, coupla Hundred Pounds later, a Chassis turned from Ebay and the resto began in earnest..
              Click image for larger version

Name:	52961579507_5d23a5cc73_h_d.jpg
Views:	483
Size:	791.7 KB
ID:	1297523


              Click image for larger version

Name:	52961579357_c34171a142_w_d.jpg
Views:	470
Size:	42.2 KB
ID:	1297524Click image for larger version

Name:	52962180251_1b8b382255_w_d.jpg
Views:	461
Size:	54.9 KB
ID:	1297525Click image for larger version

Name:	52962180271_73d0920b71_w_d.jpg
Views:	465
Size:	45.3 KB
ID:	1297526Click image for larger version

Name:	52976376888_c05da8fb9b_w_d.jpg
Views:	471
Size:	60.9 KB
ID:	1297527

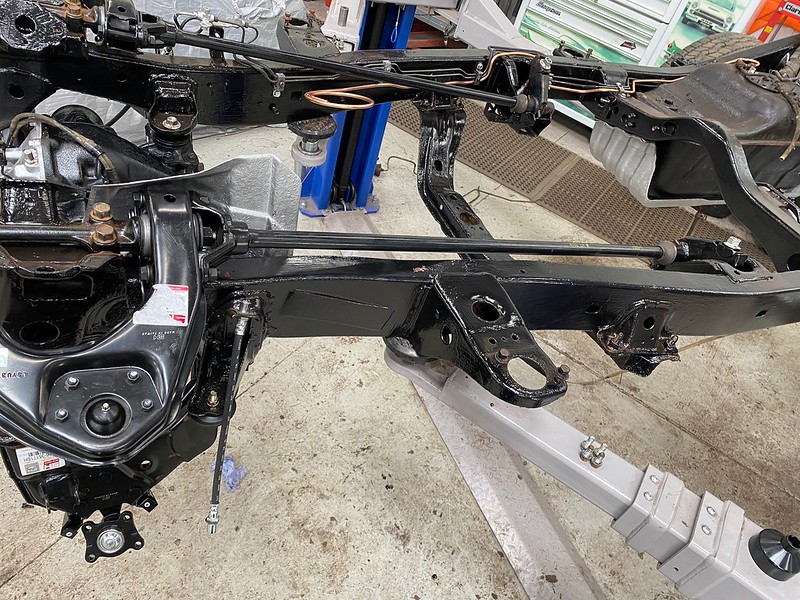
              New Chassis was stripped, prepped, Red Oxide and then 2K Satin Painted Black..
              Click image for larger version

Name:	52974416918_6254e529d3_z_d.jpg
Views:	460
Size:	137.0 KB
ID:	1297528

              Click image for larger version

Name:	52975326572_3019fbd682_z_d.jpg
Views:	453
Size:	151.1 KB
ID:	1297529

              Click image for larger version

Name:	52976014631_593f62d1e8_z_d.jpg
Views:	456
Size:	126.1 KB
ID:	1297530


              Starting with refurbishing the ancillaries such as Spare Wheel Carrier, then moving on to the Fuel Tank & Cage, Chassis Bump Stops and Steering Box..

              Click image for larger version

Name:	52977226380_b0a8281fa0_d.jpg
Views:	445
Size:	86.3 KB
ID:	1297531Click image for larger version

Name:	52977003529_f58d578e7f_z_d.jpg
Views:	444
Size:	76.8 KB
ID:	1297532Click image for larger version

Name:	52977003454_73722e932c_z_d.jpg
Views:	451
Size:	104.8 KB
ID:	1297533

              Then on to the the Fuel and Brake Lines..

              Click image for larger version

Name:	52977311078_bdbcb26d2e_d.jpg
Views:	445
Size:	60.8 KB
ID:	1297534Click image for larger version

Name:	52977003539_2d6cab4018_w_d.jpg
Views:	449
Size:	51.9 KB
ID:	1297535Click image for larger version

Name:	52976859116_437c61ecee_w_d.jpg
Views:	446
Size:	57.3 KB
ID:	1297536
              Attached Files

              Comment


              • #8
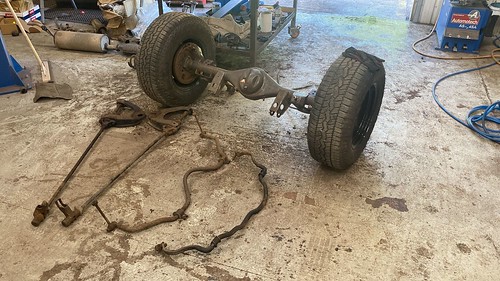
                Rear Axle focus next, removing the Surface Corrosion then treated the same as the Chassis with a 2K finish..


                Fitted with new Springs, Dampers, and waiting on refurbished Upper & Lower Trailing Arms.. Came up pretty good..


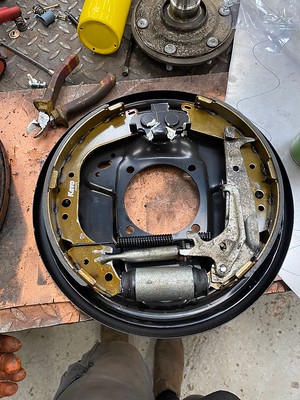
                Will be finished off with an all new Rear Braking System..

                Comment


                • #9
                  IFS setup next, new Uppers, Lowers [inc. Ball Joints], Pedders Torsion Bars & Dampers.. The 4Runner will have [as before] a 2" Suspension Lift [although I am removing the 2" Body Lift, returning to Stock]..


                  Sitting Pretty..

                  Comment


                  • #10
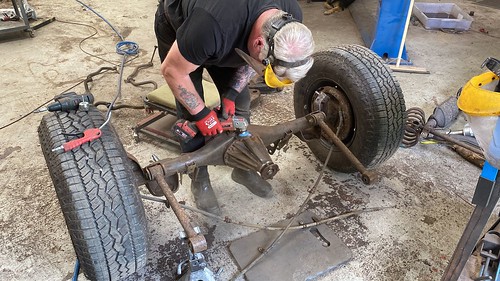
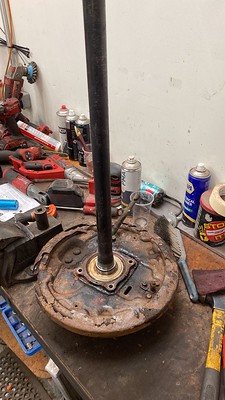
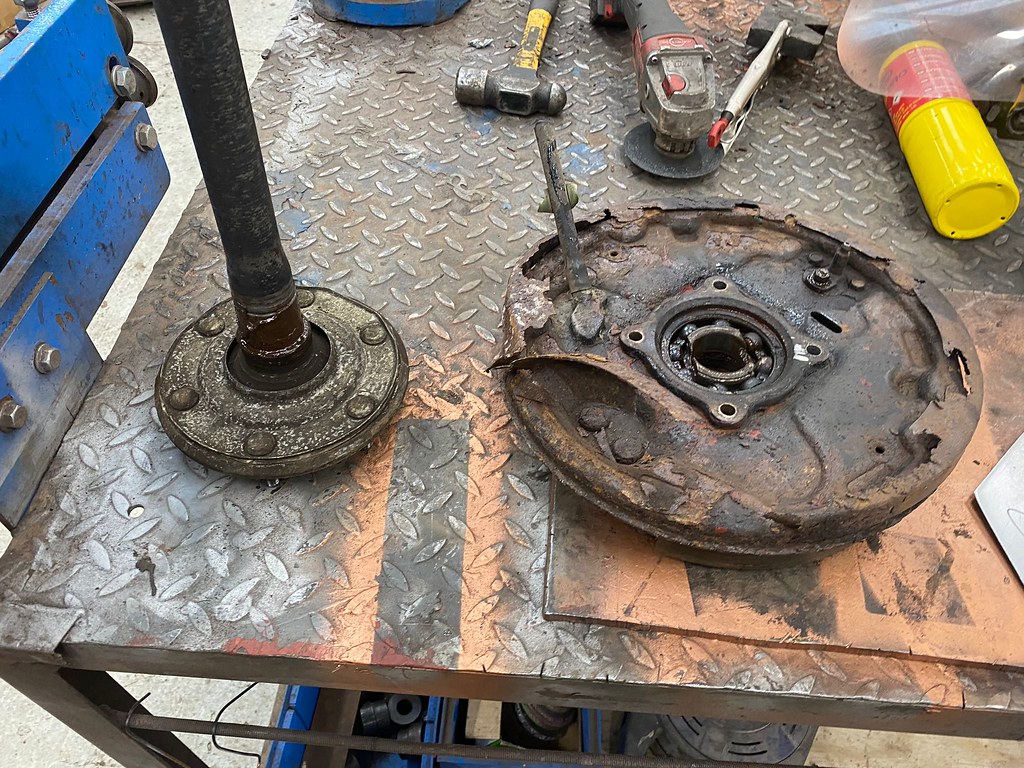
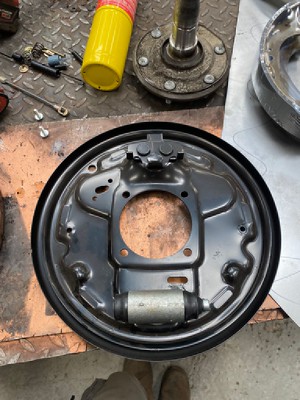
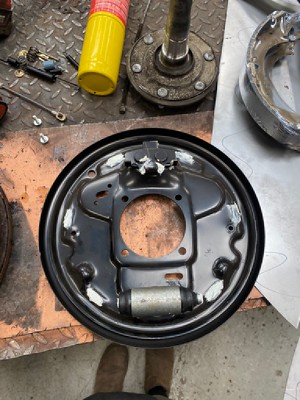
                    Time to focus some of the attention to the Rear Axle, and fitment of new Bearings, Back Plates and Brakes..


                    At last, separated..! Now, the rebuild..


                    Comment


                    • #11


                      New Studs too..

                      Comment


                      • #12
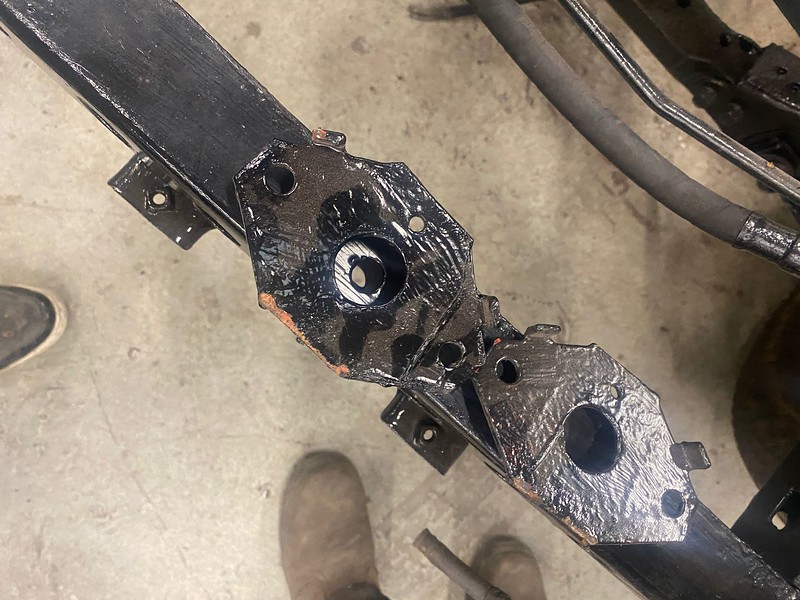
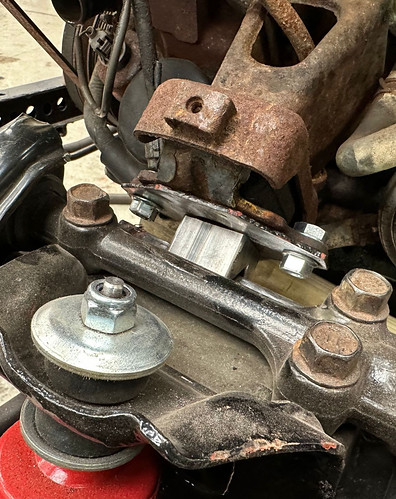
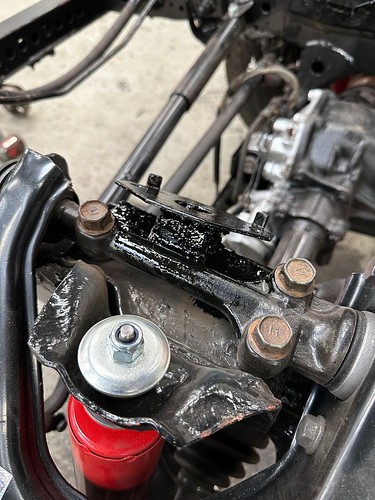
                        Work has resumed this week, came across an issue when uniting the 3VZE Motor with the replacement Chassis - Engine Mounts..


                        Nothing a bit of Grinding & Welding won't sort, but a Speed Bump nonetheless..

                        There was a tinge of regret at having scrapped the original Chassis already, but I had to remind myself that that thing was shot and I was better having some Fabrication done that salvaging from the old Rusty Skeleton..


                        Comment


                        • #13
                          Attention has turned to the Engine this past week: Timing Belt, Water Pump, Gaskets, Plugs, Leads & Gaskets.. Essentially, a Major Service..! And Essential it was..!!

                          I was [and still am] a little embarrassed about the state of the Engine, and how really it had not been looked after.. I have kept the Fluids under a watchful eye, but really, there were issues that were as close to Breaking Point as they could get without a Catastrophic Roadside event..

                          The Water Pump had been sealed with Bathroom Sealant, not a Gasket..


                          How the F£%& this had held for as long as it did was miraculous..

                          The Dizzy Cap points were brittle and came away with little persuasion..


                          Basically, it was on its Last Legs.. Fortunately it was going to receive a New Everything..

                          Comment


                          • #14
                            The Exhaust System was to be overhauled, with the removal of the Crossover Pipe in favour of Headers, and an EGR Delete..

                            Because of the introduction of Stainless Steel to the Engine Bay., it was decided to Heatwrap them to protect everything else in there..


                            A little Surgery would be required, as the length of the Union Pipe meant that there would be insufficient room for the Silencer/Muffler, the Catalytic Converter and the Tail Pipe..

                            Comment


                            • #15
                              Installed and in place on the Chassis, there was an issue with the length of the SS Union section, putting the Cat and Silencer too rearward.. A problem for another day, when the Body and Chassis were reunited and a path could be sorted for the entire Exhaust..


                              In the meantime, plenty to get on with..

                              Comment

                              Working...
                              X