
 Tweet
Tweet
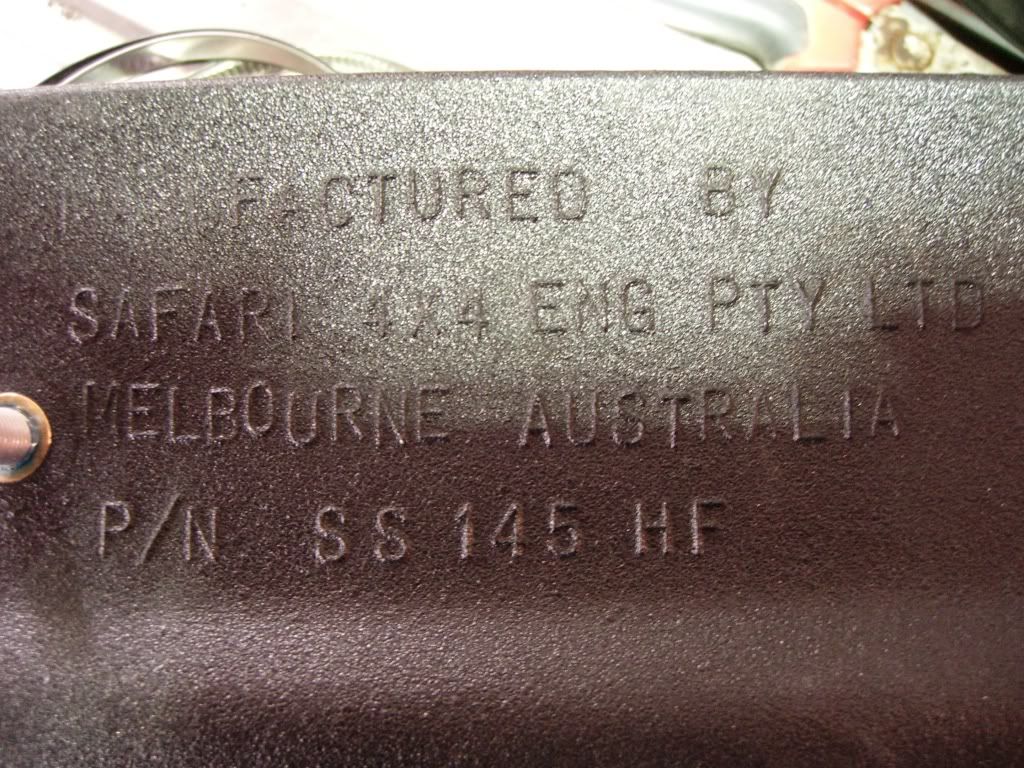
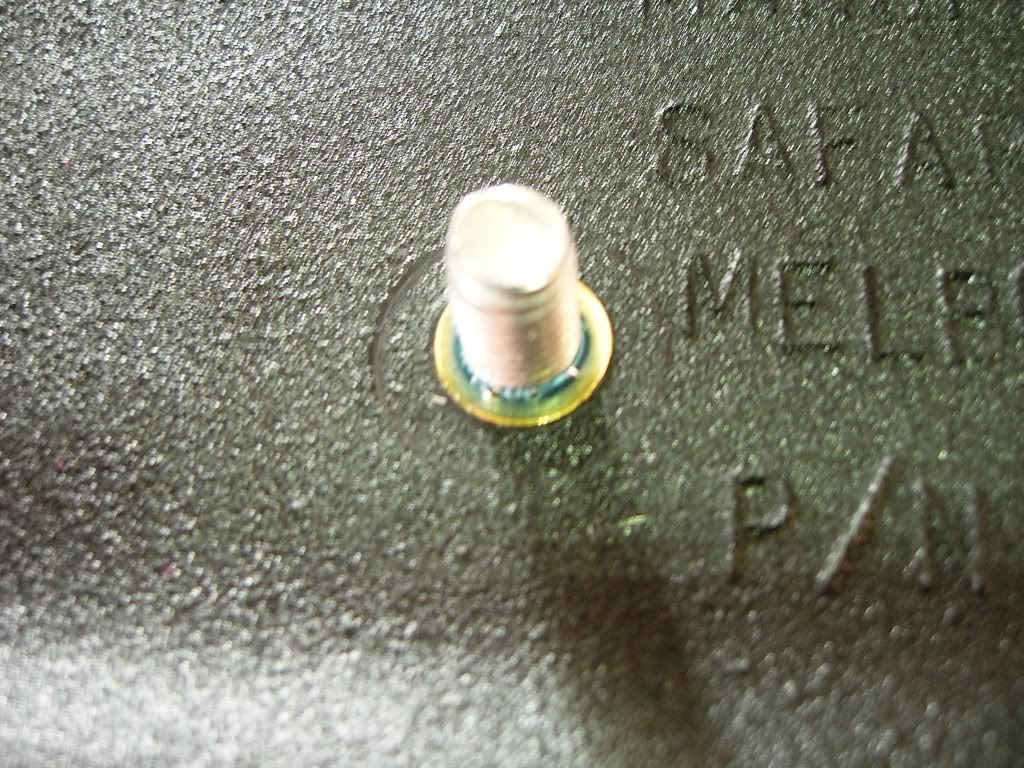
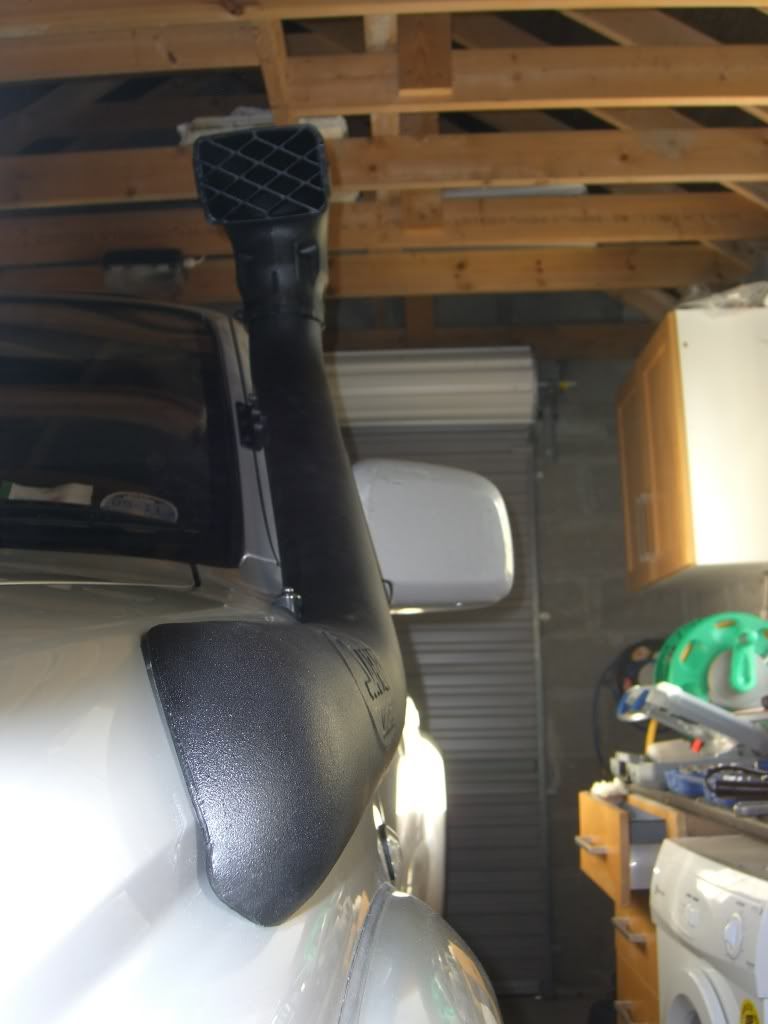
On another thread the snorkel model number is stated to be ss146hfe not ss145hf as per the picture above.
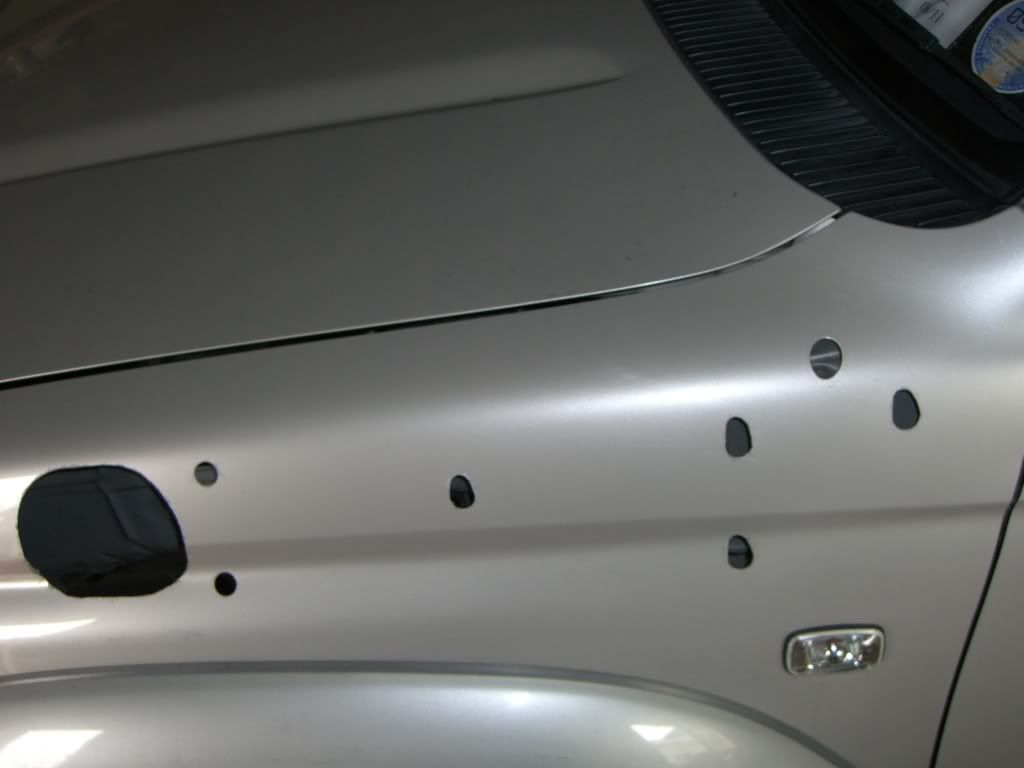
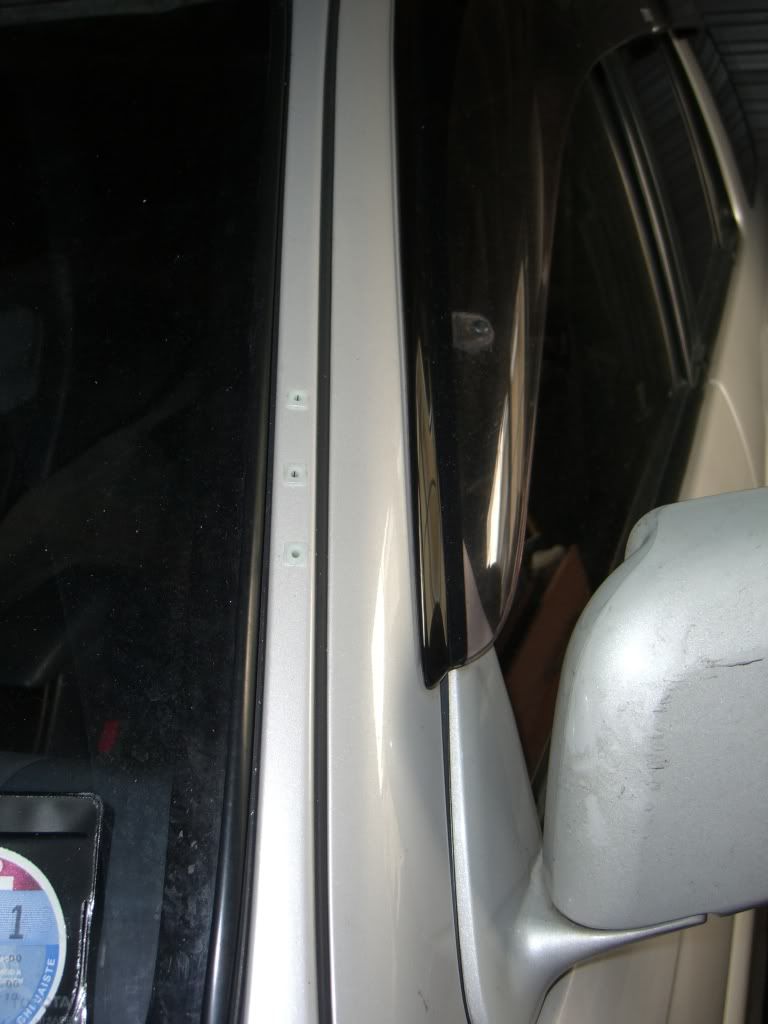
I need it to fit a 1998 3rd generation kze185 3l turbo diesel air intake on near side. Please can someone clarify which one I need please?
Thanks.
I need it to fit a 1998 3rd generation kze185 3l turbo diesel air intake on near side. Please can someone clarify which one I need please?
Thanks.


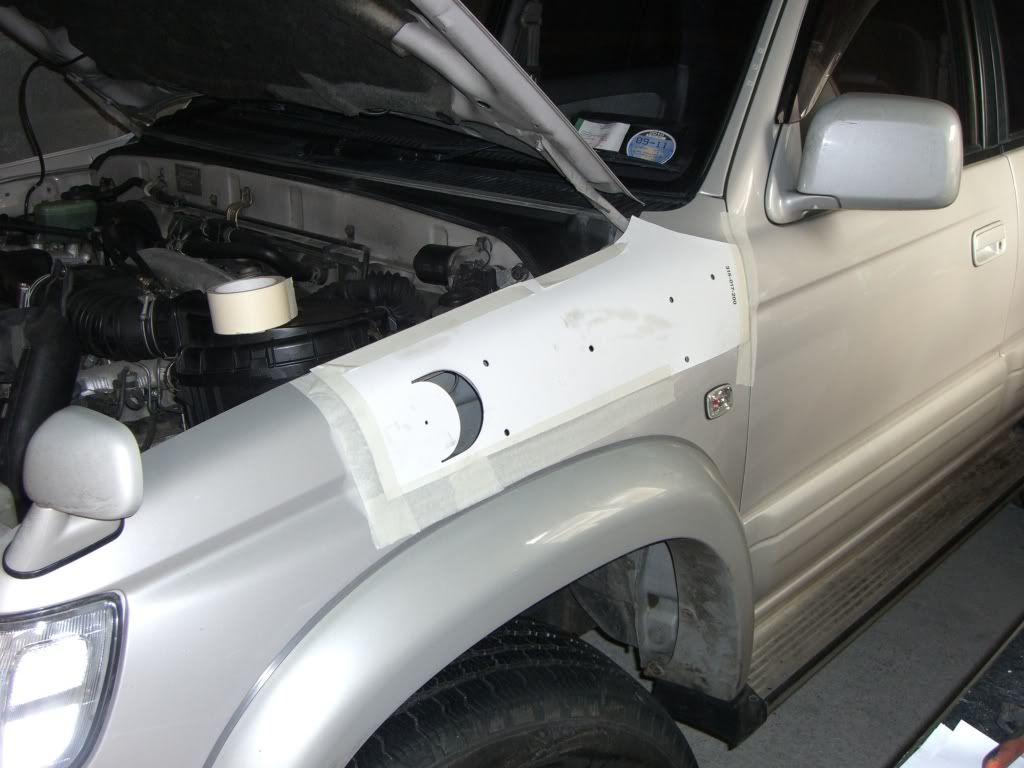
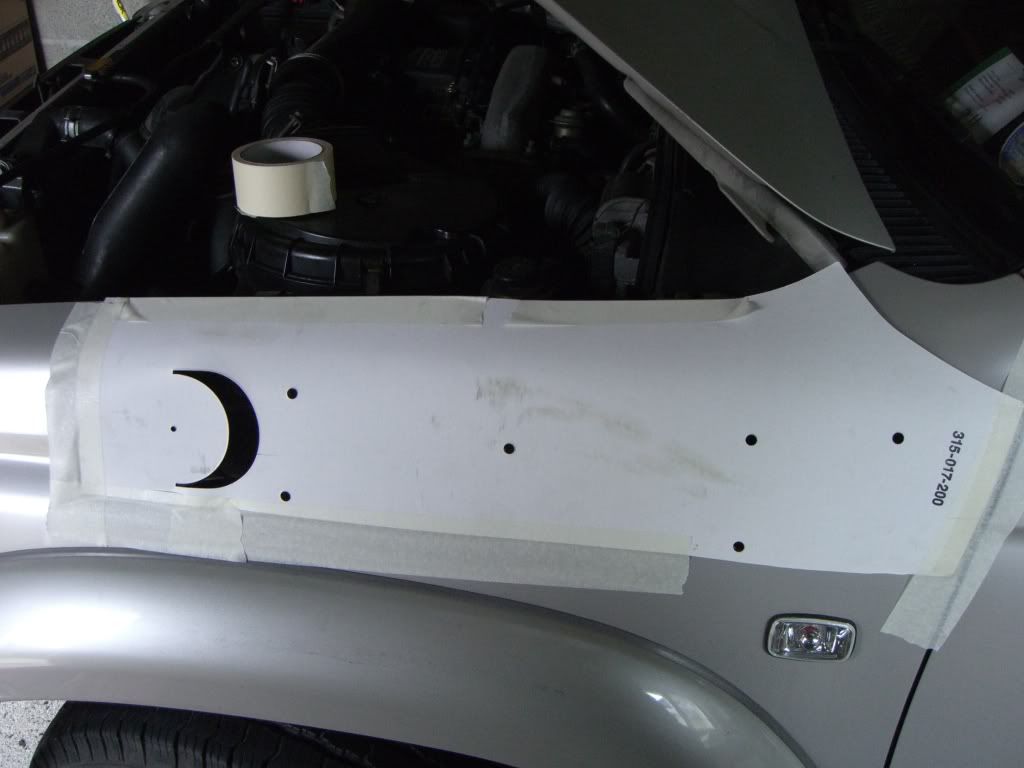
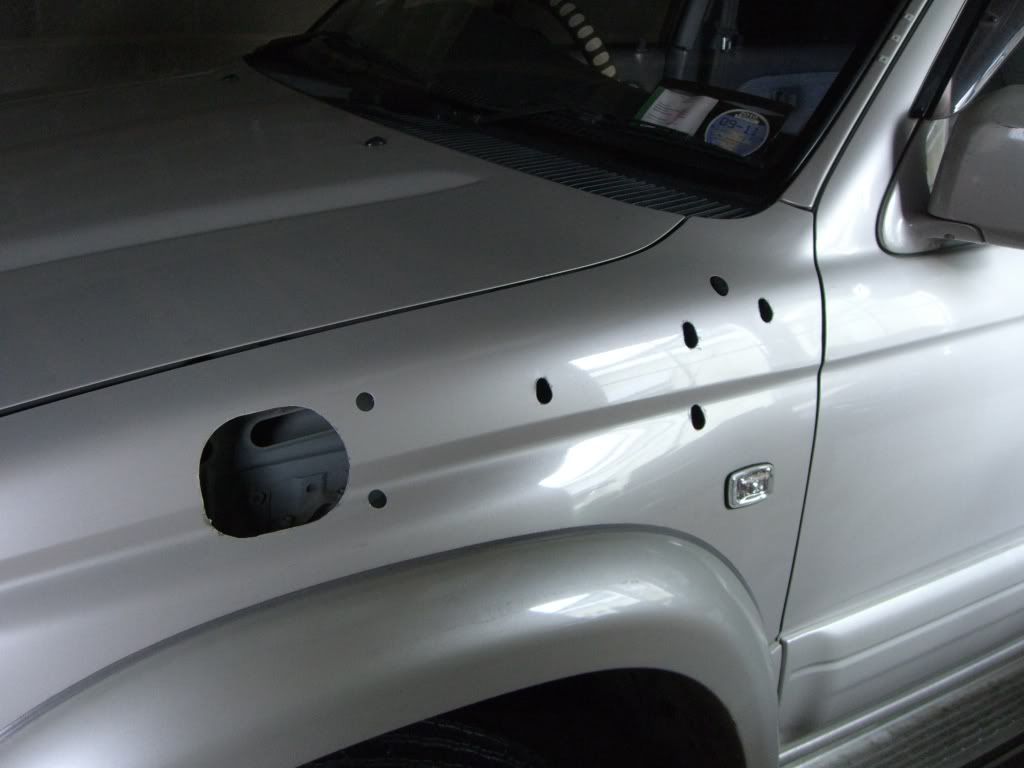
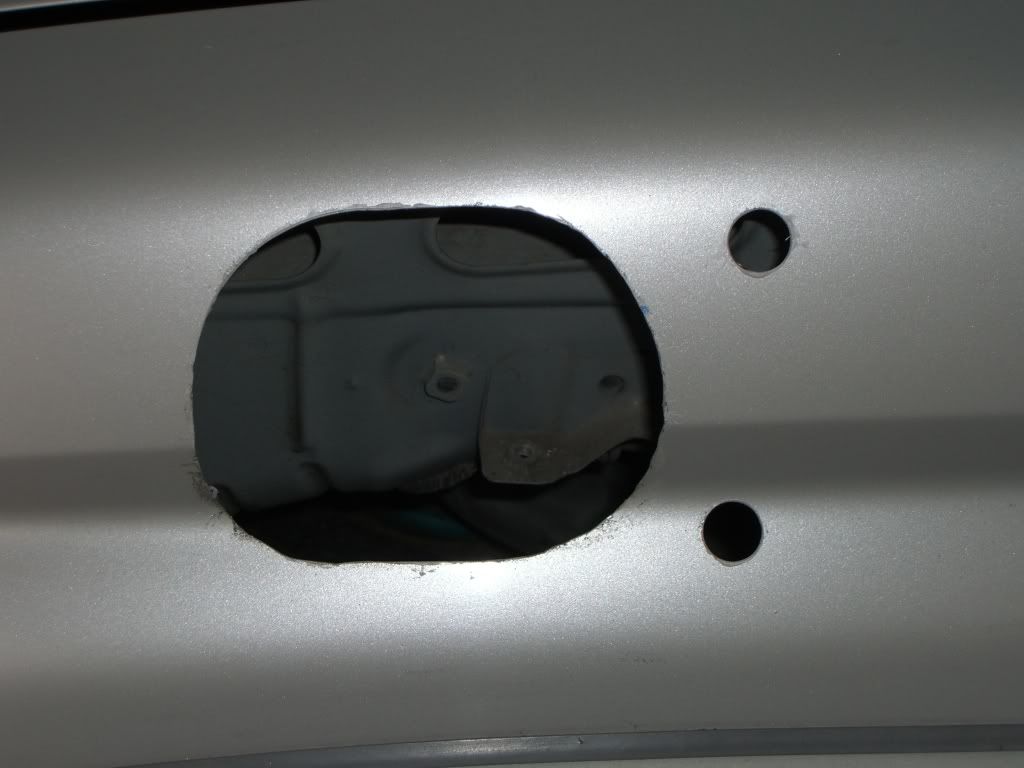

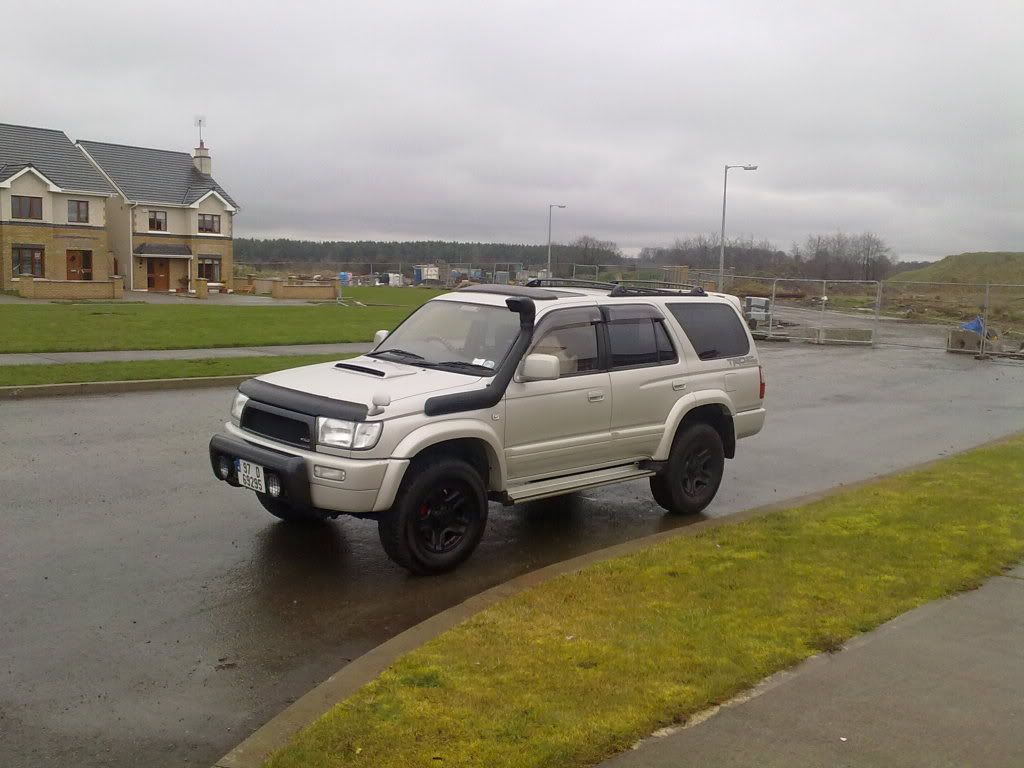
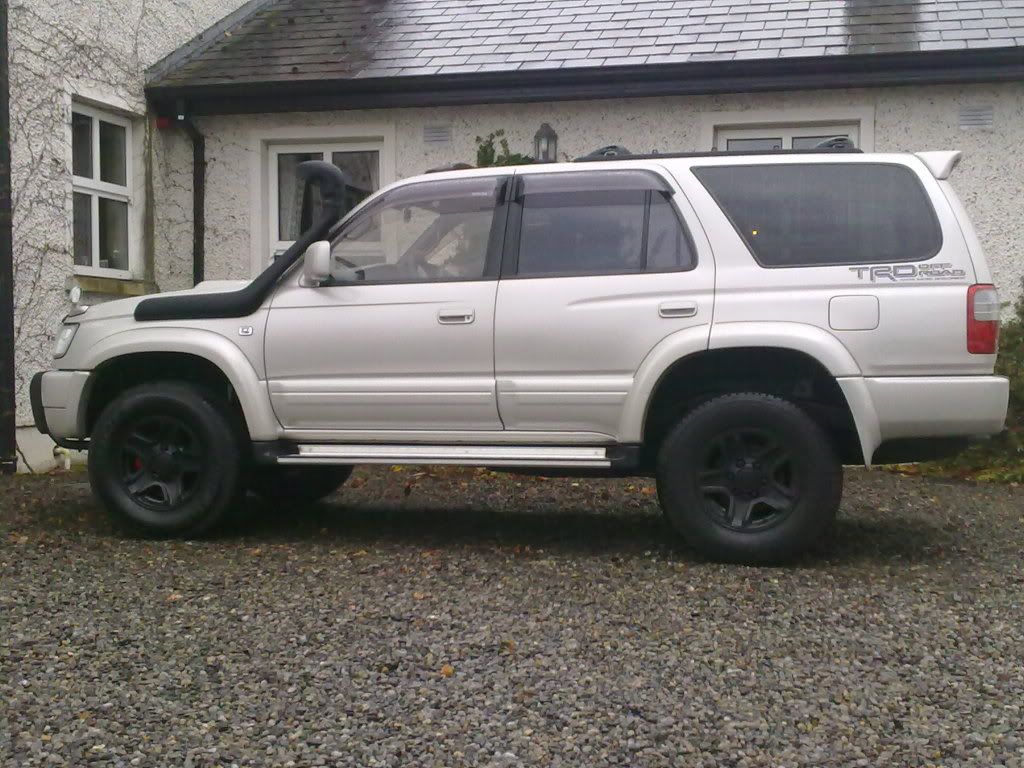
 and he done great job
Comment