

 Tweet
Tweet
Author(me) is a pure cowboy and doesnt put himself forward as an expert on bodylifts so read on and let the blind lead the blind...all at your own risk 
Tools I used :
Large can of loosener e.g. WD40
2 jacks (bottle jacks are fine, surf jack is great)
Ratchet set, normal 12 & 14mm sockets, extension bars.
Deep well 14mm socket
Breaker bar
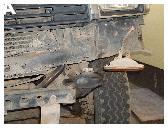

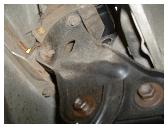
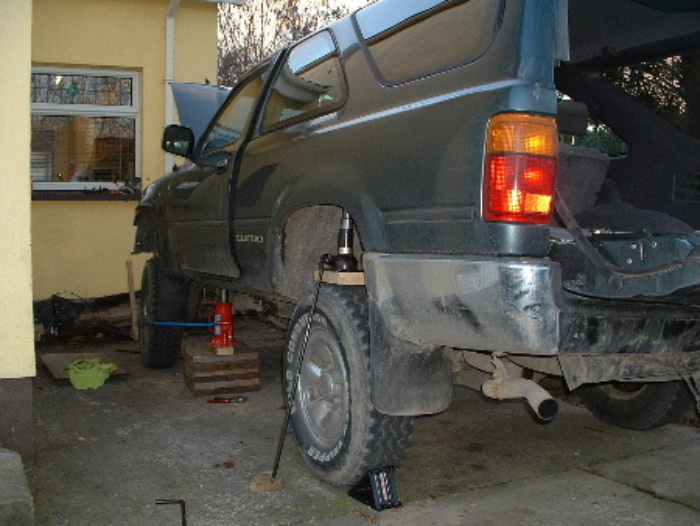
Locate the body mounts for the side steps (3 per step). Removing the steps gives you space & daylight to make this job tidy.
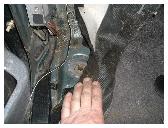
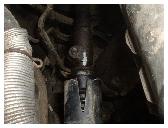
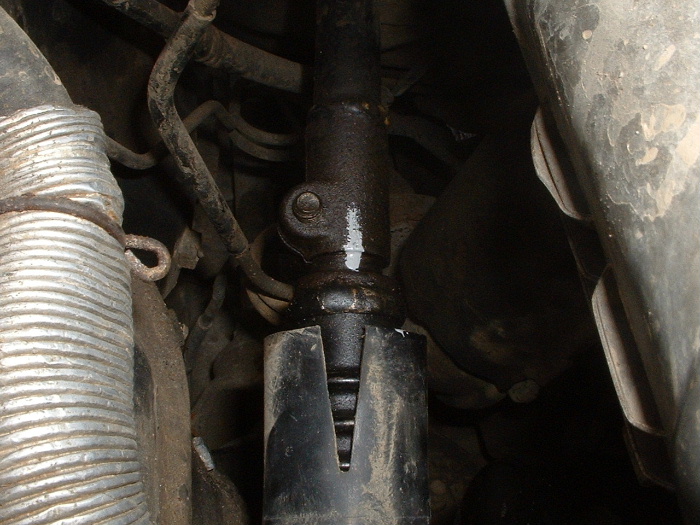
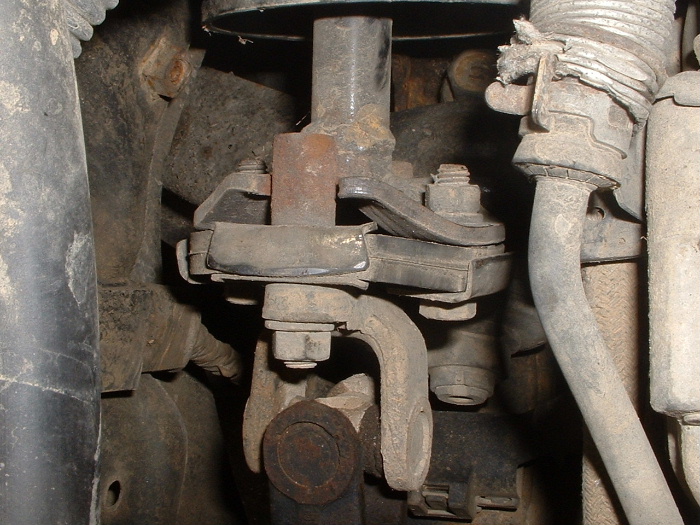
Locate the steering shaft in the engine bay. There are 2 bolted clamps at either end of the shaft. Mark the position of the clamps on your steering shaft with paint or tipex. There is a slight that the splined bar inside the clamp could slip out altogether and markings would aid refitting correctly. They also indicate how far the shaft has elongated.
Tools I used :
Large can of loosener e.g. WD40
2 jacks (bottle jacks are fine, surf jack is great)
Ratchet set, normal 12 & 14mm sockets, extension bars.
Deep well 14mm socket
Breaker bar
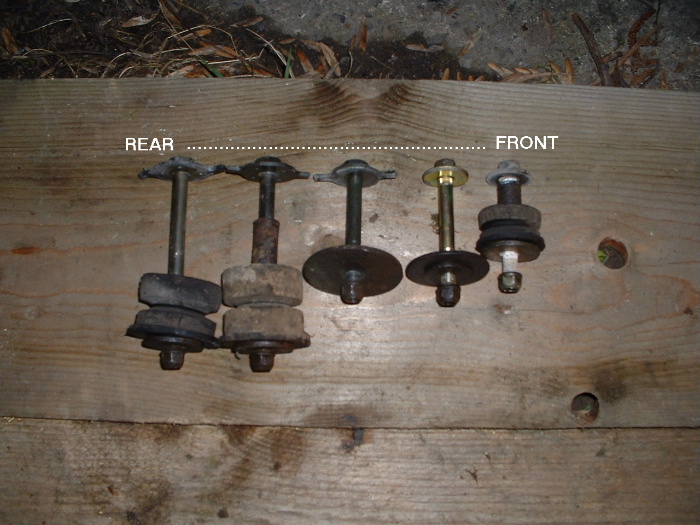
I used a Roger brown 2" lift kit: (2nd gen 2" HD/HW)
10 spacers
10 bolts and locknuts heavy duty grade
4 radiator drop brackets
2 front bumper raise brackets
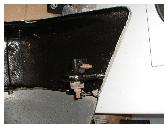
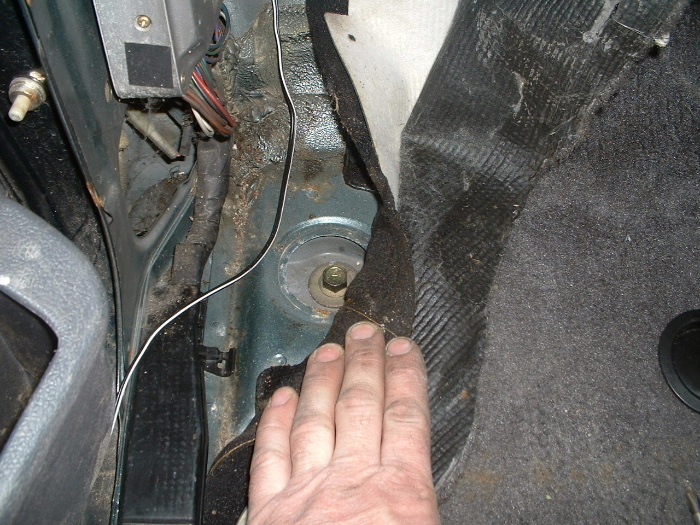
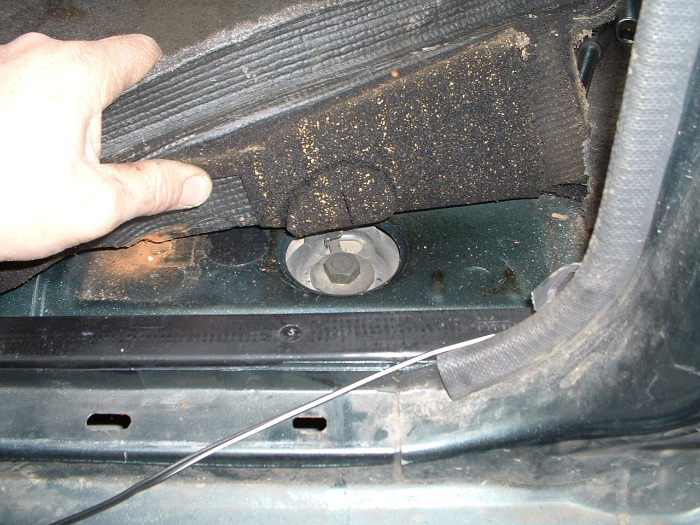
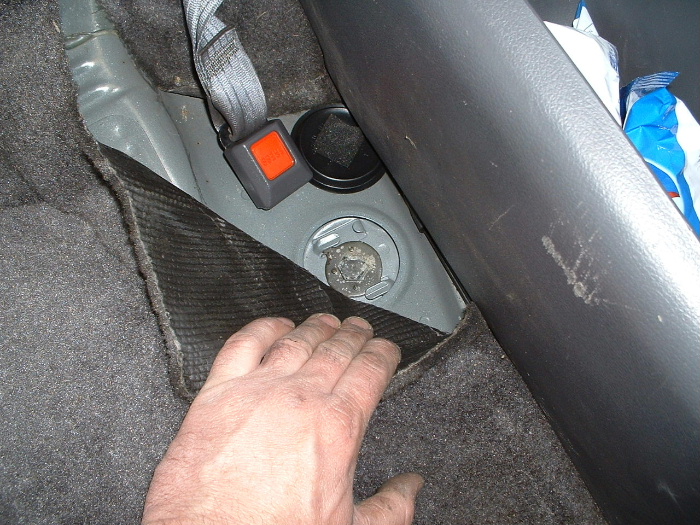
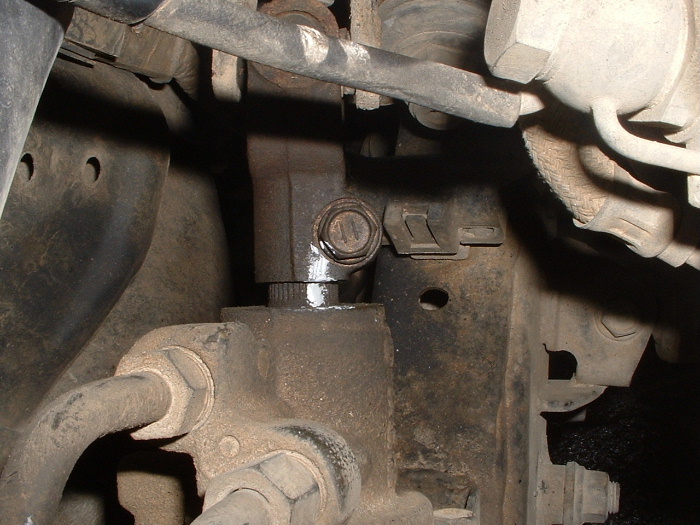
Locate all 10 body mounts on your surf. Taking the passenger side first, the front one (1) is just behind the front bumper on the chassis rail. Next one back (2) is just behind the front mudflap and, inside its where your front passengers left foot would be under the dash. Next (3) is almost in line with the front seat rear anchor bolt. Next (4) is just in front of the rear wheel well and, inside its just below the rear passenger's seatbelt anchor. Last one (5) is just inside the tailgate beside the luggage hook in the carpet.

Locate the body mounts for the side steps (3 per step). Removing the steps gives you space & daylight to make this job tidy.
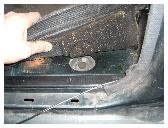
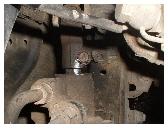
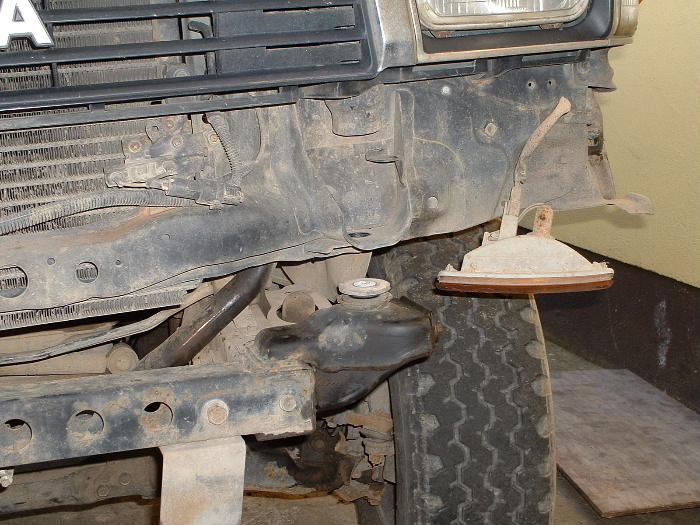
Locate the radiator 4 mount bolts also locating the radiator shroud
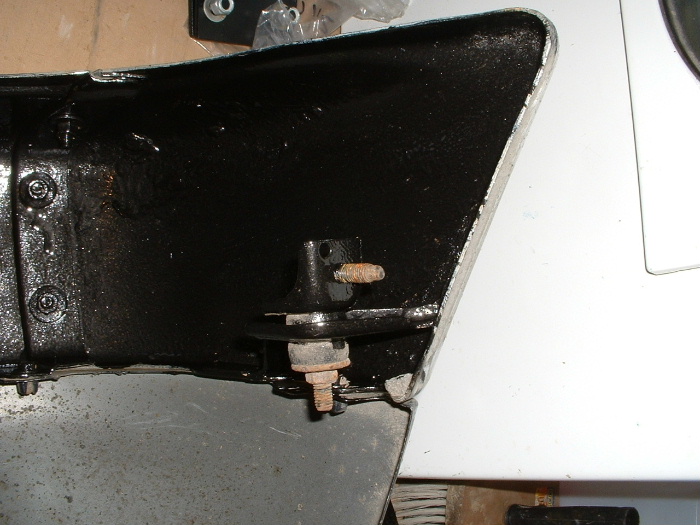
screws.Locate the 4 front bumper bolts, 2 on each chassis rail mount, can be easily seen from underneath. Also locate the side bumper retainers. They are accessed in the wheel well where there is a hole in the lining thru which you can unbolt the retaining nut.

Locate the steering shaft in the engine bay. There are 2 bolted clamps at either end of the shaft. Mark the position of the clamps on your steering shaft with paint or tipex. There is a slight that the splined bar inside the clamp could slip out altogether and markings would aid refitting correctly. They also indicate how far the shaft has elongated.
.....contd in post #3, couldnt fit whole text in one post

 Makes me want to take mine out and reinstall it. :
  Good work! Any pics of the final result?
 :
: 


Comment