

 Tweet
Tweet
How to fit a Towequipe towbar to a 3rd gen 1996-2003 Surf.
Tools needed:
17MM, 19MM and 24MM sockets/spanners.
Wire cutters/strippers.
About a metre or four feet of twin core cable, enough to reach from one rear light to the other.
WD40 or similar.
Crosshead screwdriver.
A length of stiff wire. I used green fencing wire.
Copper grease (optional)
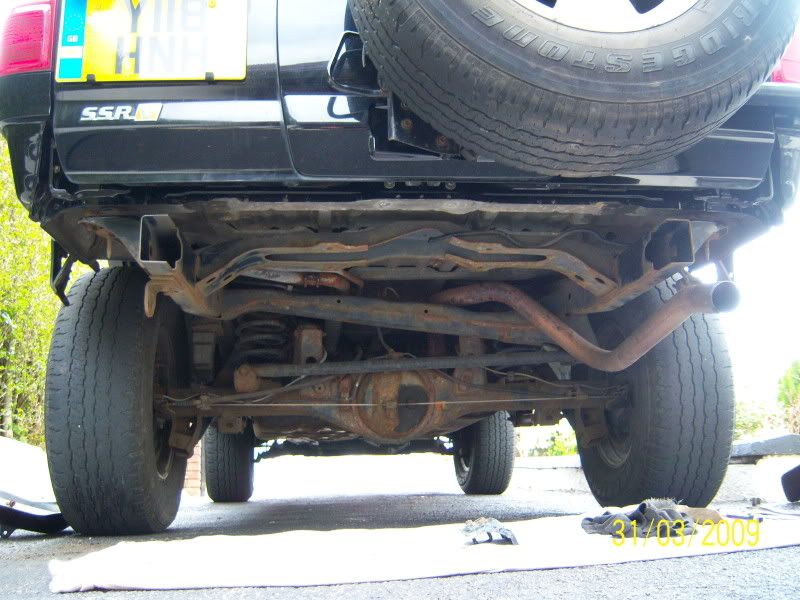
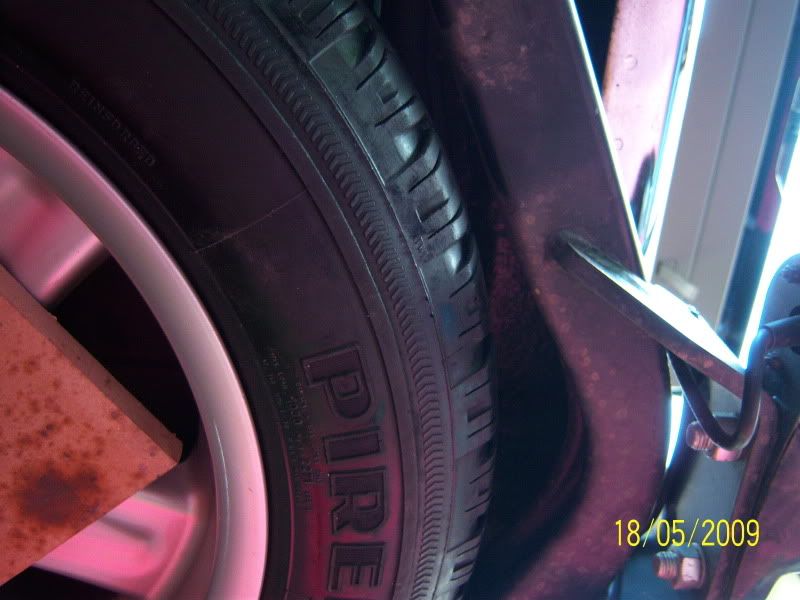
Rear bumper removed for clarity and because it needed rust proofing on the back.
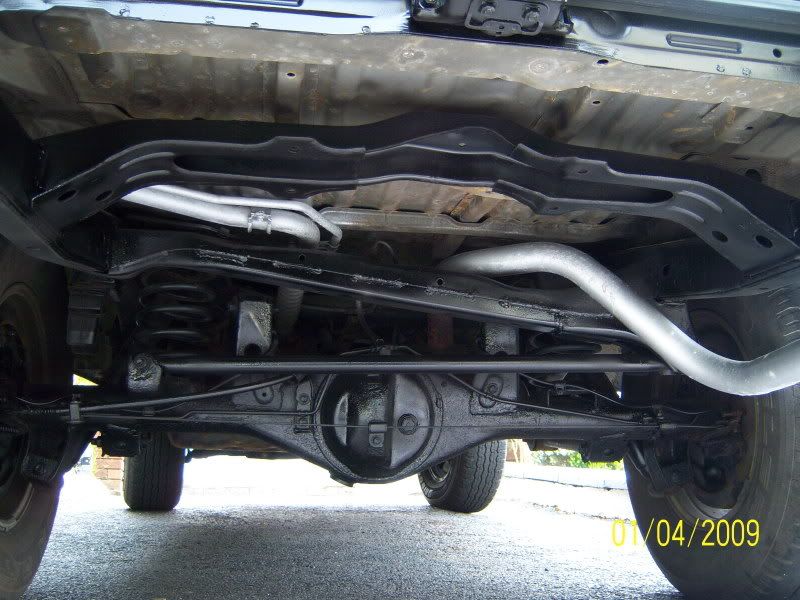
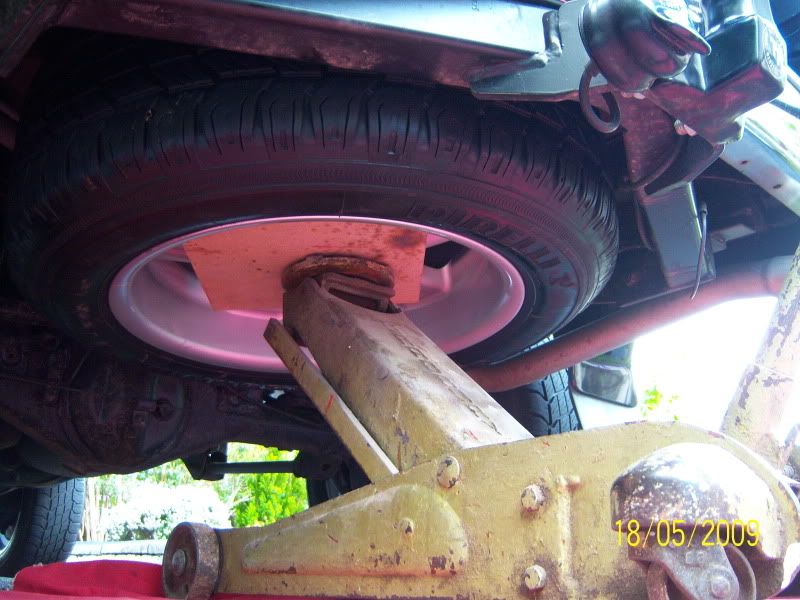
First thing to do is to remove the towing eye from the chassis...17mm socket/spanner.
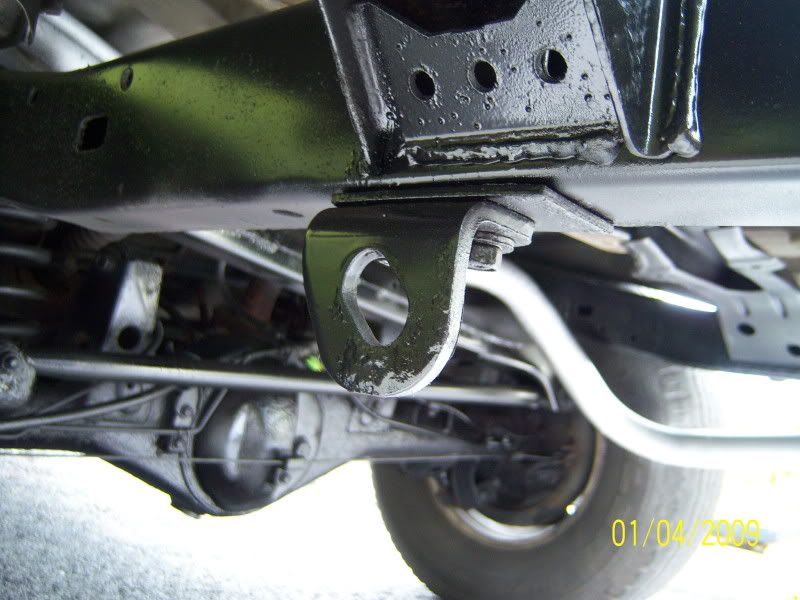
Next, using the supplied metal strip with attached bolt...
 feed into the end of the chassis rail and drop the bolt into the third hole along from the end.....
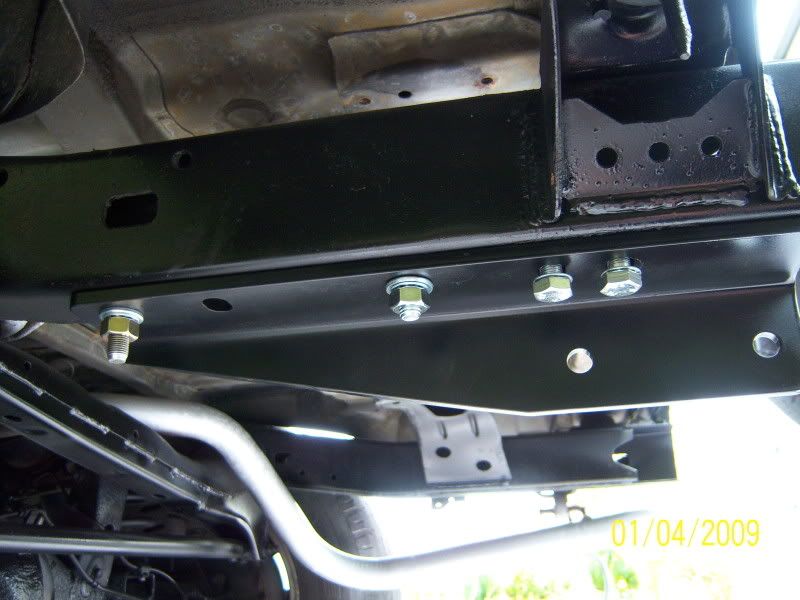
Then take one of the angled brackets and offer it up to the chassis so all the holes line up and fit a shakeproof washer and nut to the bolt you have just fitted to hold it in place. Don't tighten it, only finger tight.
Then fit the two other bolts throgh the bracket into the holes where the towing eye was using the fine thread bolts from the kit. (loosely fitted for now)
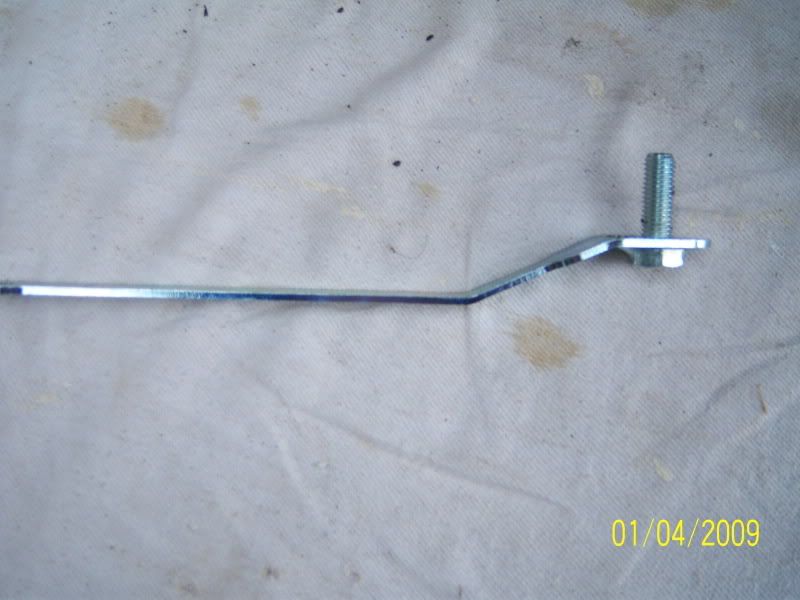
Then take your length of stiff wire and wrap it loosely around one of the other fine thread bolts and feed it into the chassis rail into the last hole of the bracket and fit washer and nut.........

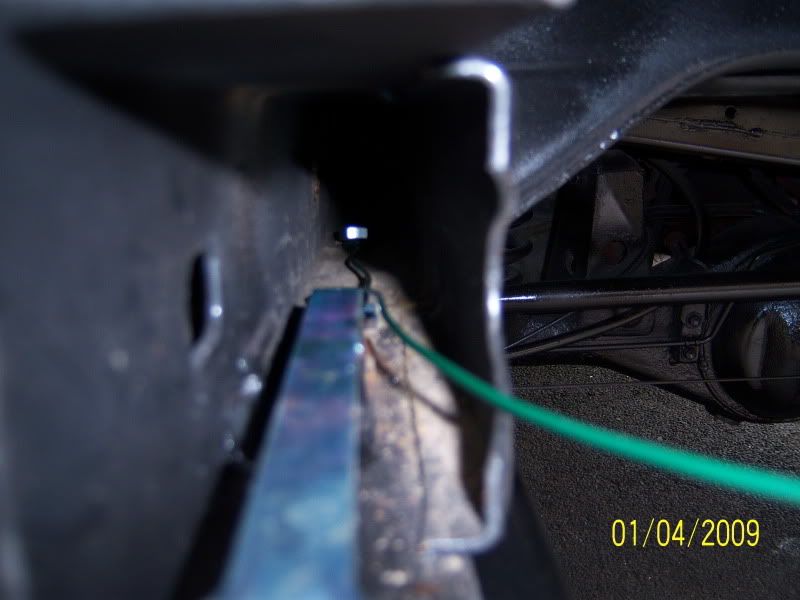
Once you get the nut started on the threads, yank out the length of wire.
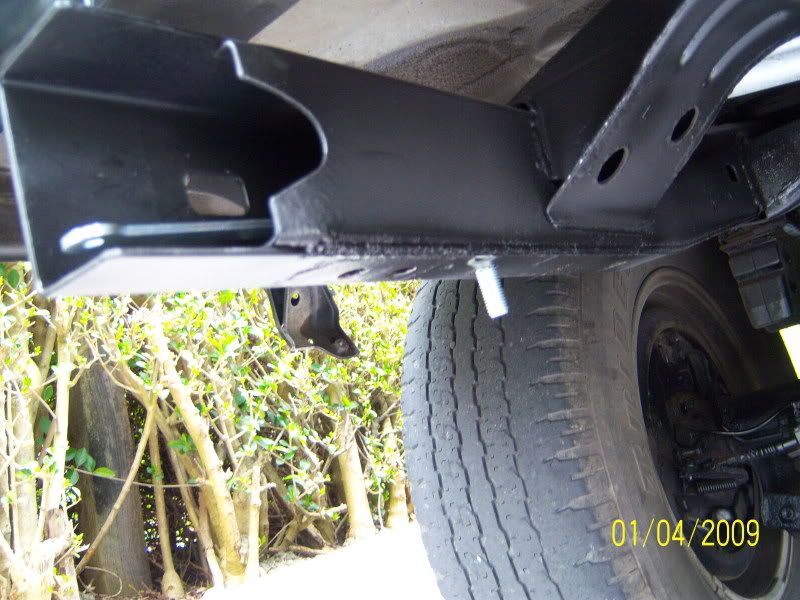
Leave all the bolts/nuts loose and it should look like this....
Repeat the above on the other side of the chassis.
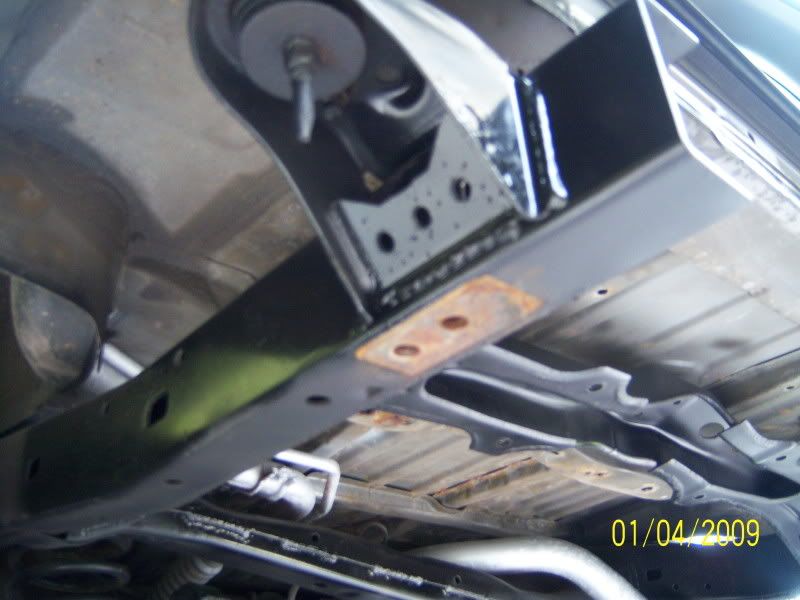
Then position the towbar between the two brackets and insert one bolt each side to hold it in place then swing it up and insert the other two bolts....
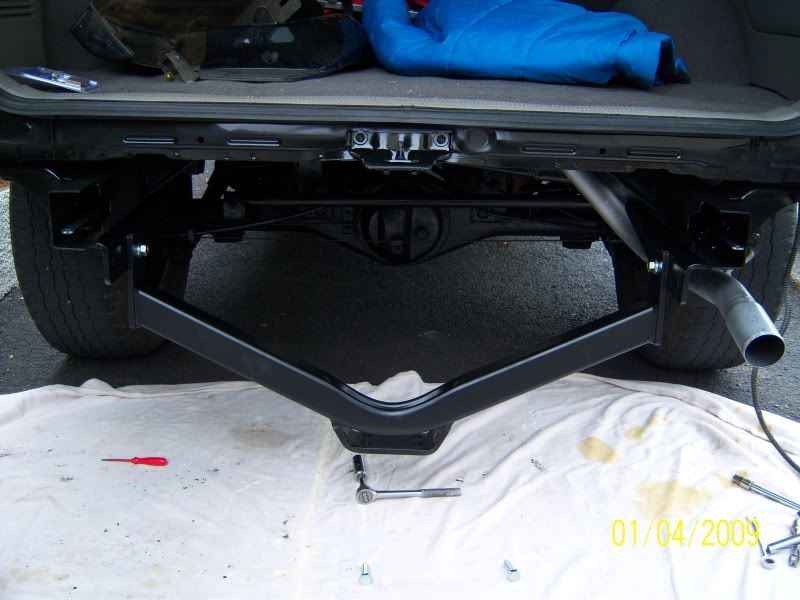
Now you can tighten all the nuts and bolts you've just fitted.
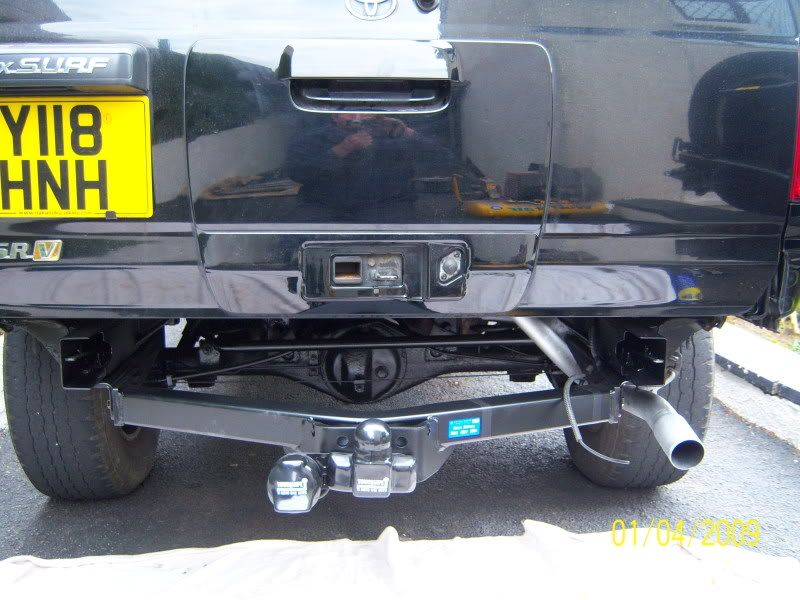
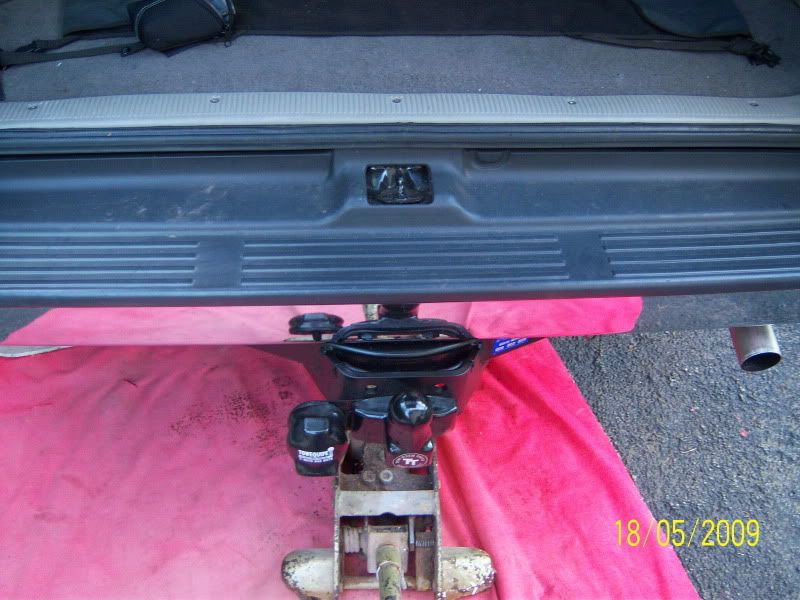
Next fit the the electrics socket, bracket and towball in place. You'll need a 24mm socket and spanner to tighten the nuts/bolts.
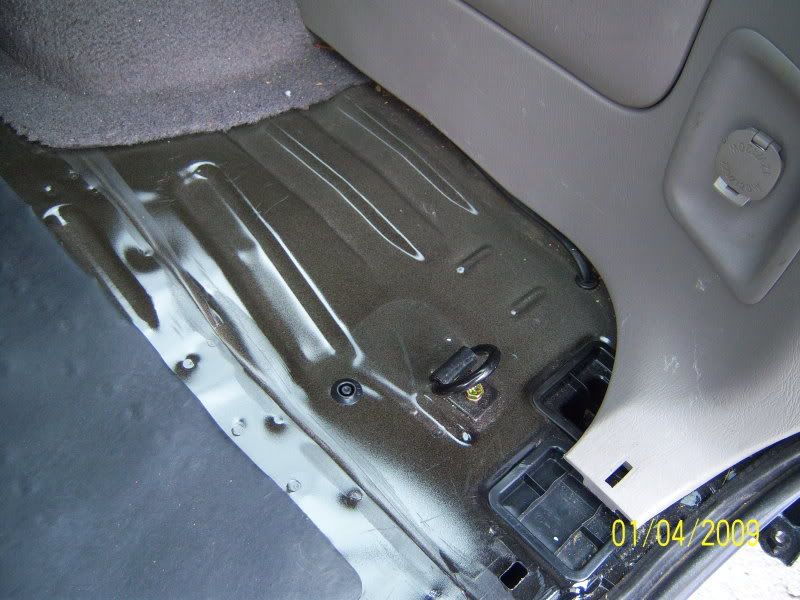
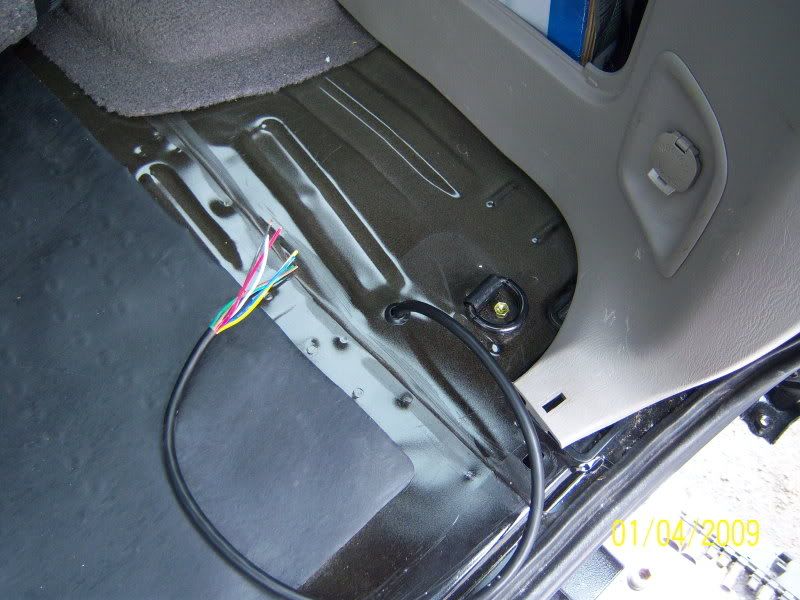
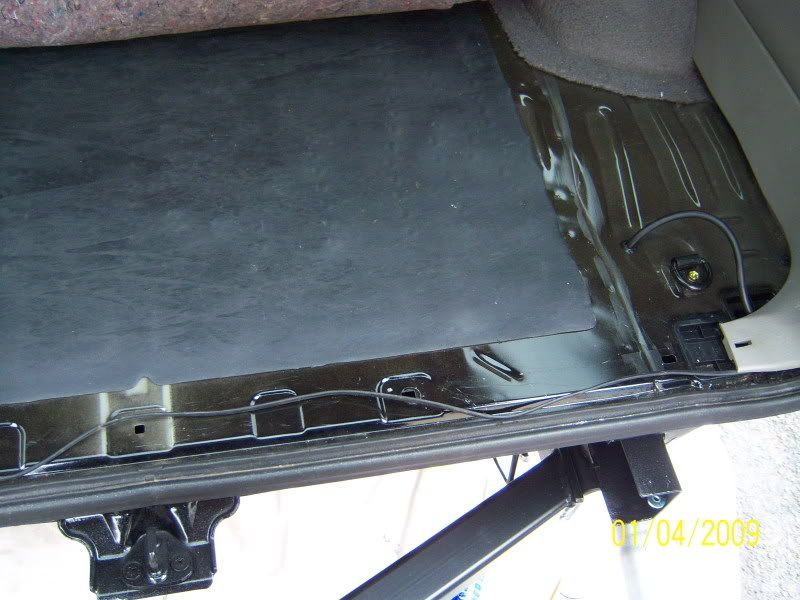
Next remove the plastic edging strip in the cargo area and push/fold back the carpet to reveal the rubber grommet. Left or right side it doesen't matter. my truck has one either side, yours may have too.
Pierce a hole in the grommet so that the seven core cable from the socket can pass through it tightly. Pull the slack through and secure the cable neatly to the towbar/chassis. (the cable hanging down in the photo is for the foglight.)
Next, carefully pull the side panel away from the body to gain access to the multiplug near the rear light cluster and un-hook the plug from the body
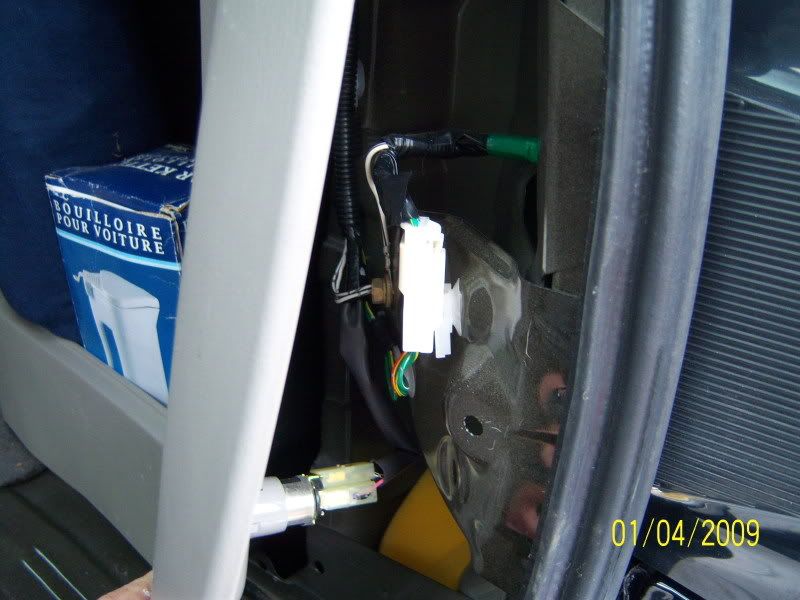
This is where you will make all the necessary conections following the instructions supplied with the towbar kit.
Use a multi meter or remove the rear light cluster to identify which wire is which. e.g. Tail lights, indicators, stoplights.
You will need to run two extra wires to the other side of the truck for the indicator/warning beeper.....I used twin core wire, but two seperate wires is OK.
Now you'll need to plug in your caravan or trailer to check everything is working. If OK then replace all the interior trim.
Removing the bumper makes this job a doddle, with the bumper fitted it's a little more fiddley, re: the bolt/hole fishing technique. If you have chrome bumpers, it's wise to protect the rear of them anyway to stop rust eating it's way through to the chrome finish.
I used copper grease on all my bolts for ease of removal if ever necessary.
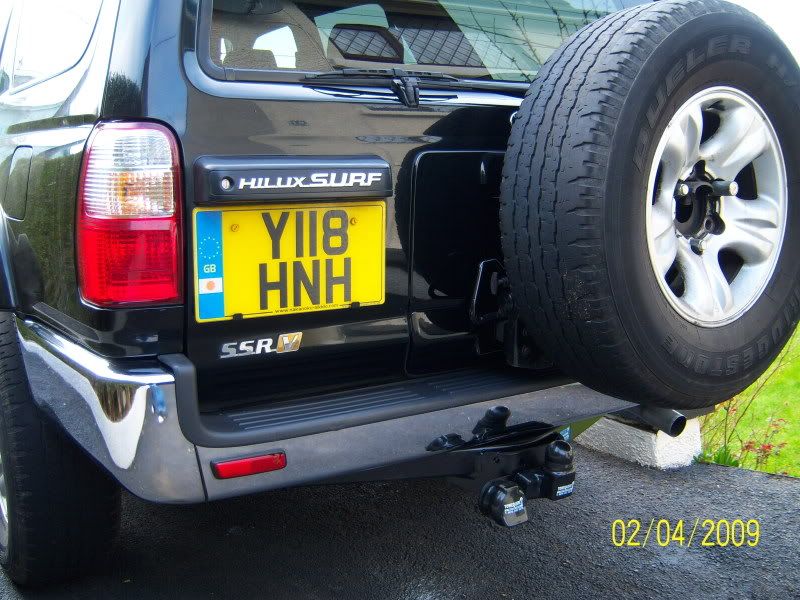
Here's mine all done and shiny.
Didn't look so nice before I started though.....
Before..
After...
Th..th..thats all folks!
Tools needed:
17MM, 19MM and 24MM sockets/spanners.
Wire cutters/strippers.
About a metre or four feet of twin core cable, enough to reach from one rear light to the other.
WD40 or similar.
Crosshead screwdriver.
A length of stiff wire. I used green fencing wire.
Copper grease (optional)
Rear bumper removed for clarity and because it needed rust proofing on the back.
First thing to do is to remove the towing eye from the chassis...17mm socket/spanner.
Next, using the supplied metal strip with attached bolt...
feed into the end of the chassis rail and drop the bolt into the third hole along from the end.....Then take one of the angled brackets and offer it up to the chassis so all the holes line up and fit a shakeproof washer and nut to the bolt you have just fitted to hold it in place. Don't tighten it, only finger tight.
Then fit the two other bolts throgh the bracket into the holes where the towing eye was using the fine thread bolts from the kit. (loosely fitted for now)
Then take your length of stiff wire and wrap it loosely around one of the other fine thread bolts and feed it into the chassis rail into the last hole of the bracket and fit washer and nut.........
Once you get the nut started on the threads, yank out the length of wire.
Leave all the bolts/nuts loose and it should look like this....
Repeat the above on the other side of the chassis.
Then position the towbar between the two brackets and insert one bolt each side to hold it in place then swing it up and insert the other two bolts....
Now you can tighten all the nuts and bolts you've just fitted.
Next fit the the electrics socket, bracket and towball in place. You'll need a 24mm socket and spanner to tighten the nuts/bolts.
Next remove the plastic edging strip in the cargo area and push/fold back the carpet to reveal the rubber grommet. Left or right side it doesen't matter. my truck has one either side, yours may have too.
Pierce a hole in the grommet so that the seven core cable from the socket can pass through it tightly. Pull the slack through and secure the cable neatly to the towbar/chassis. (the cable hanging down in the photo is for the foglight.)
Next, carefully pull the side panel away from the body to gain access to the multiplug near the rear light cluster and un-hook the plug from the body
This is where you will make all the necessary conections following the instructions supplied with the towbar kit.
Use a multi meter or remove the rear light cluster to identify which wire is which. e.g. Tail lights, indicators, stoplights.
You will need to run two extra wires to the other side of the truck for the indicator/warning beeper.....I used twin core wire, but two seperate wires is OK.
Now you'll need to plug in your caravan or trailer to check everything is working. If OK then replace all the interior trim.
Removing the bumper makes this job a doddle, with the bumper fitted it's a little more fiddley, re: the bolt/hole fishing technique. If you have chrome bumpers, it's wise to protect the rear of them anyway to stop rust eating it's way through to the chrome finish.
I used copper grease on all my bolts for ease of removal if ever necessary.
Here's mine all done and shiny.
Didn't look so nice before I started though.....
Before..
After...
Th..th..thats all folks!


Comment