
 Tweet
Tweet
Searching this forum turned up a detailed how-to to remove the entire dashboard to get to the clocks (Dash Removal 2nd Gen). However, in my experience, you only need to remove two large dashboard parts instead of the five listed in the how-to, so I'd like to share this experience for anyone new looking to fit Plasma dials, or to generally get at the clocks.
I'd provide pictures, however when I found the quick way, I had limited time and the truck's now out in France, so I'll take some photos when it comes back.
You will need:
-magnetic-tip PH2 Philips-head screwdriver
-small flat-blade screwdriver or needle-nose pliers
-10mm socket wrench
1) Start with the ignition key panel, which is held on by two clips and can be easily popped off with a screwdriver. Next is the dash panel under the steering wheel. This is held on by up to four screws (one above and below handbrake, one under ignition key, one under driver's air vent) and one 10mm bolt (under speaker grille). Tip: release the handbrake to get at the screws, but apply it again to remove the panel. There's a clip just above the lowest screw on this side that needs to be wiggled free, having the brake on helps. The panel won't come free without removing the bonnet release and fuel cap connection cables, but in my experience it's okay to leave the panel in the footwell while you're working on the upper section.
2) Remove the steering wheel shroud. This will give you some extra clearance to remove the upper dash panel. Not sure if it's do-able without, but it's not a big job to remove it. The lower part is fixed to the steering column with three small screws, the upper part is fixed to the lower with a screw in each corner. Remove the upper cover first, as it stops the entire thing rattling around when you're trying to get a screwdriver on it! When you've got both panels free, remove the lower. The upper cover houses the ignition key light. Follow the wire under the upper dash panel and there's a blue cable connector, find the clip on top to release, then remove the panel. With the column bare, tilt the steering wheel as far down as it'll go - this will help you remove the panel and the clocks.
3) Remove the heater control knobs (temperature and fan speed) and put them somewhere safe. Using the screwdriver or pliers, unclip the heater fascia from the left-hand side of the panel - get the tool into the temperature cutout and pop the clips that way, and it should lever out.
4) Under the fascia is one of the four screws holding the upper dash panel on. The second is by the steering wheel. The final two are above the instrument panel. Remove these.
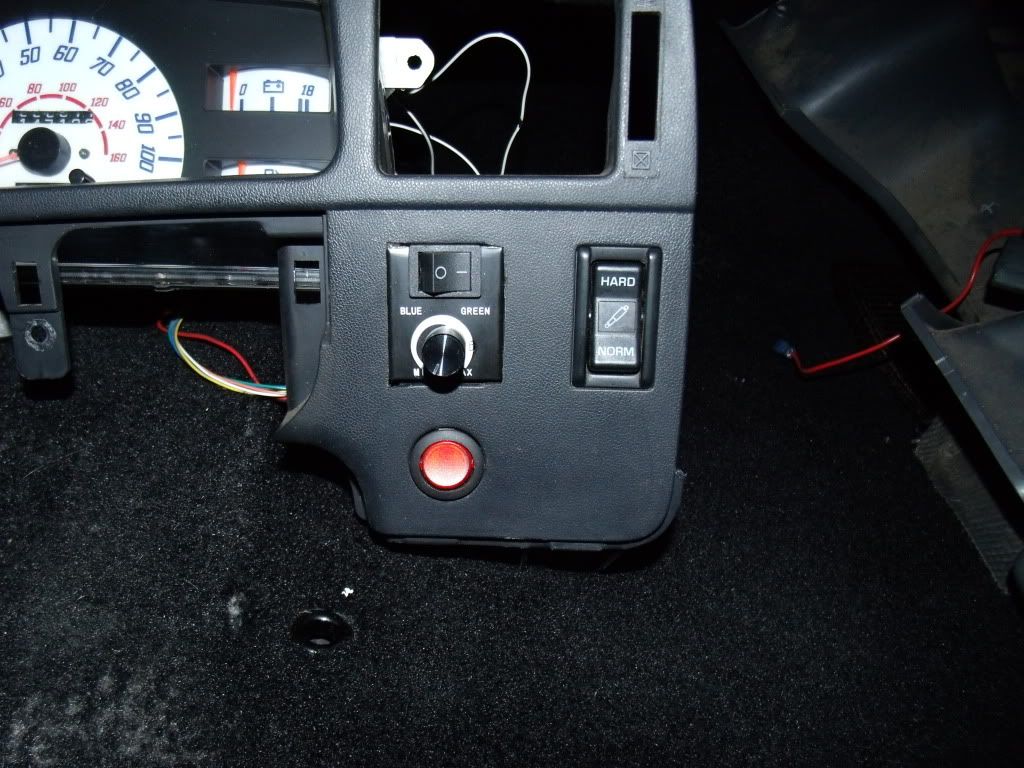
5) Now the slightly trickier bit - removing the upper dash panel. Pull it out an inch or two and you'll feel cables catching. On my Surf, these are the Suspension Mode, Idle Up, Hazard and Rear Screen Heater cables. All are clip-ins. The switches on the right-hand side of the panel seem to have very short cables and will catch first. Remove the cables, and the panel should lift clear of the dash.
Refitting tip: I found it really hard to get the Suspension Mode cable back into the switch when replacing the dash panel, but I discovered that the switch itself can be unclipped from the panel easily. Pop the switch out of its home, replace the panel, then using a screwdriver or pliers, hold the connector in place while you push the switch against it. Once it's clipped, push the switch back into the panel. Voila, quick and easy!
6) You should now be able to see the screws holding the clocks in position. One screw is slightly blocked by the lower centre-dash panel (opposite side of the wheel to the ignition), but there's enough clearance to get a screwdriver in. This is where you'll need the magnet Remove all four screws.
7) Lift the clocks out a few inches. There's a big bundle of cables round the back - four clip-in connectors. They're easy enough to remove - pop the clips with a screwdriver and the clocks should lift out easily. I'm led to believe that the cables can only fit in their correct holders; I haven't checked this thoroughly, but they look different sizes and line up with their sockets when hanging anyway.
Tips for fitting Plasma dials:
-Test the dials BEFORE you tear the truck to pieces! Pop them on one of the batteries or similar and check they all work!
-The PD set on eBay is actually for a Gen-3 Surf and as such does not include a hole for a needle rest on the speedo. I've phoned the guy and spoken to him about this; you cannot modify any part of the dial which has a gold backing, which prohibits popping a hole through the material for the rest. However, if you remove the original needle rest, clip off the support plastic, smooth it down and apply some superglue, you can stick it to the face in the correct place (unofficial advice from the seller )
)
-If you need to modify the shape of the dial (can't think why, but the seller did tell me this over the phone), you can cut parts of the dial with black backing (again, do not cut into the gold, the active material is like liquid crystal and will ruin the dial if the pouch holding it is damaged). If you need to put holes in the dial (apart from the aforementioned needle rest), you must not drill it, as heat will cause the layers to separate and ruin the dial. Pop a hole through with a punch instead.
-On the Gen-2, the holes cut in the tacho/speedo dials for the screws are too big, and the screws won't grip it. You'll need to tape or glue the new dial to the old one, or to the plastic support plate if that's not an option - on ours the speedo dial had drastically warped and was completely unusable, so I had to bin it! Major reason for buying new dials in the first place.
-The tacho needle needs to be reinstalled with the clocks back in the truck. Follow the instructions with the dials, but then leave the shroud off, return the clocks to the truck and reconnect the signal cables. If you gently replace the tacho needle and turn the ignition on, you'll find that the needle instantly jumps up. To correct this, remove the needle, and with the ignition on, line the needle up with its rest and plush it back onto the shaft (make sure the needle is actually on the shaft and doesn't miss!). You probably don't need to push the needle hard against the dial face, but as long as the face is flat and smooth it should be fine.
-The transformer can be placed in the cavity behind the clocks. I placed it on the left side, since it's easier to get to power here: the instrument panel lights are powered from the two left-most cables on the left-most (blue?) connector. Outside cable is -ve, cable next to it is +ve. Use wire bridges and you're good to go!
Hope this helps someone like me who's new to tearing cars apart! If there's a tutorial like this already (that I didn't find when searching), I'll happily remove this one if required. Otherwise, photos will be added in a couple of weeks when I have the Black Beast back
I'd provide pictures, however when I found the quick way, I had limited time and the truck's now out in France, so I'll take some photos when it comes back.
You will need:
-magnetic-tip PH2 Philips-head screwdriver
-small flat-blade screwdriver or needle-nose pliers
-10mm socket wrench
1) Start with the ignition key panel, which is held on by two clips and can be easily popped off with a screwdriver. Next is the dash panel under the steering wheel. This is held on by up to four screws (one above and below handbrake, one under ignition key, one under driver's air vent) and one 10mm bolt (under speaker grille). Tip: release the handbrake to get at the screws, but apply it again to remove the panel. There's a clip just above the lowest screw on this side that needs to be wiggled free, having the brake on helps. The panel won't come free without removing the bonnet release and fuel cap connection cables, but in my experience it's okay to leave the panel in the footwell while you're working on the upper section.
2) Remove the steering wheel shroud. This will give you some extra clearance to remove the upper dash panel. Not sure if it's do-able without, but it's not a big job to remove it. The lower part is fixed to the steering column with three small screws, the upper part is fixed to the lower with a screw in each corner. Remove the upper cover first, as it stops the entire thing rattling around when you're trying to get a screwdriver on it! When you've got both panels free, remove the lower. The upper cover houses the ignition key light. Follow the wire under the upper dash panel and there's a blue cable connector, find the clip on top to release, then remove the panel. With the column bare, tilt the steering wheel as far down as it'll go - this will help you remove the panel and the clocks.
3) Remove the heater control knobs (temperature and fan speed) and put them somewhere safe. Using the screwdriver or pliers, unclip the heater fascia from the left-hand side of the panel - get the tool into the temperature cutout and pop the clips that way, and it should lever out.
4) Under the fascia is one of the four screws holding the upper dash panel on. The second is by the steering wheel. The final two are above the instrument panel. Remove these.
5) Now the slightly trickier bit - removing the upper dash panel. Pull it out an inch or two and you'll feel cables catching. On my Surf, these are the Suspension Mode, Idle Up, Hazard and Rear Screen Heater cables. All are clip-ins. The switches on the right-hand side of the panel seem to have very short cables and will catch first. Remove the cables, and the panel should lift clear of the dash.
Refitting tip: I found it really hard to get the Suspension Mode cable back into the switch when replacing the dash panel, but I discovered that the switch itself can be unclipped from the panel easily. Pop the switch out of its home, replace the panel, then using a screwdriver or pliers, hold the connector in place while you push the switch against it. Once it's clipped, push the switch back into the panel. Voila, quick and easy!
6) You should now be able to see the screws holding the clocks in position. One screw is slightly blocked by the lower centre-dash panel (opposite side of the wheel to the ignition), but there's enough clearance to get a screwdriver in. This is where you'll need the magnet
Remove all four screws.7) Lift the clocks out a few inches. There's a big bundle of cables round the back - four clip-in connectors. They're easy enough to remove - pop the clips with a screwdriver and the clocks should lift out easily. I'm led to believe that the cables can only fit in their correct holders; I haven't checked this thoroughly, but they look different sizes and line up with their sockets when hanging anyway.
Tips for fitting Plasma dials:
-Test the dials BEFORE you tear the truck to pieces! Pop them on one of the batteries or similar and check they all work!
-The PD set on eBay is actually for a Gen-3 Surf and as such does not include a hole for a needle rest on the speedo. I've phoned the guy and spoken to him about this; you cannot modify any part of the dial which has a gold backing, which prohibits popping a hole through the material for the rest. However, if you remove the original needle rest, clip off the support plastic, smooth it down and apply some superglue, you can stick it to the face in the correct place (unofficial advice from the seller
)-If you need to modify the shape of the dial (can't think why, but the seller did tell me this over the phone), you can cut parts of the dial with black backing (again, do not cut into the gold, the active material is like liquid crystal and will ruin the dial if the pouch holding it is damaged). If you need to put holes in the dial (apart from the aforementioned needle rest), you must not drill it, as heat will cause the layers to separate and ruin the dial. Pop a hole through with a punch instead.
-On the Gen-2, the holes cut in the tacho/speedo dials for the screws are too big, and the screws won't grip it. You'll need to tape or glue the new dial to the old one, or to the plastic support plate if that's not an option - on ours the speedo dial had drastically warped and was completely unusable, so I had to bin it! Major reason for buying new dials in the first place.
-The tacho needle needs to be reinstalled with the clocks back in the truck. Follow the instructions with the dials, but then leave the shroud off, return the clocks to the truck and reconnect the signal cables. If you gently replace the tacho needle and turn the ignition on, you'll find that the needle instantly jumps up. To correct this, remove the needle, and with the ignition on, line the needle up with its rest and plush it back onto the shaft (make sure the needle is actually on the shaft and doesn't miss!). You probably don't need to push the needle hard against the dial face, but as long as the face is flat and smooth it should be fine.
-The transformer can be placed in the cavity behind the clocks. I placed it on the left side, since it's easier to get to power here: the instrument panel lights are powered from the two left-most cables on the left-most (blue?) connector. Outside cable is -ve, cable next to it is +ve. Use wire bridges and you're good to go!
Hope this helps someone like me who's new to tearing cars apart! If there's a tutorial like this already (that I didn't find when searching), I'll happily remove this one if required. Otherwise, photos will be added in a couple of weeks when I have the Black Beast back


Comment